vCenter Backups
This guide demonstrates how to take a backup in vCenter 7.0U3, the process is very similar if not identical to vCenter 6.7.
Information
Supported Backup Protocols
- FTPS
- HTTPS
- SFTP
- FTP
- NFS (vCenter 6.7 Update 2+)
- SMB (vCenter 6.7 Update 2+)
- HTTP
Known Issues
- SMB backups fail on 7.0 U3 - VAMI Backup with SMB reports error: "Path not exported by the remote filesystem" (86069) (vmware.com)
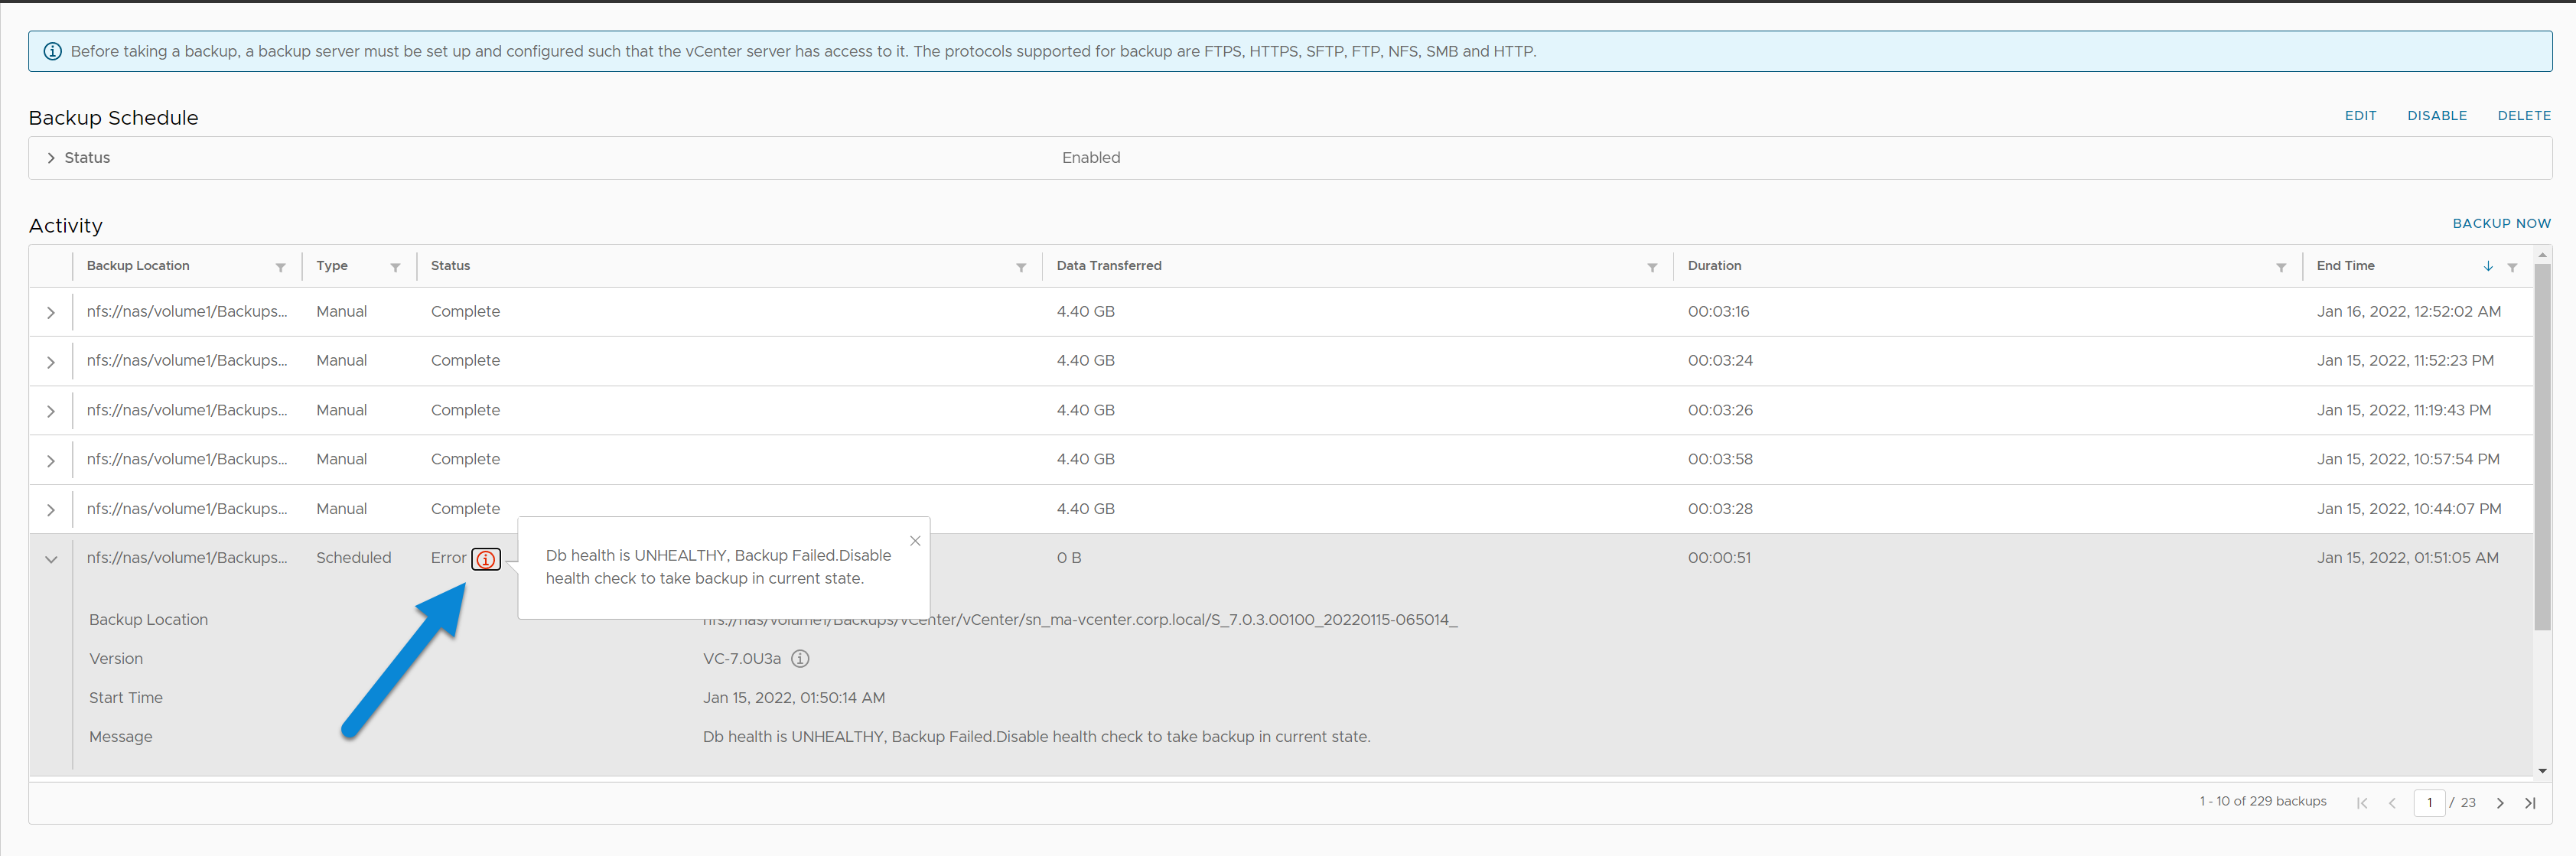
- DB Health Check Fails on 7.0 U3 - VAMI backups fail with "Db health is UNHEALTHY, Backup Failed. Disable health check to take backup in current state." (86084) (vmware.com)
Instructions
Setting a Backup Schedule
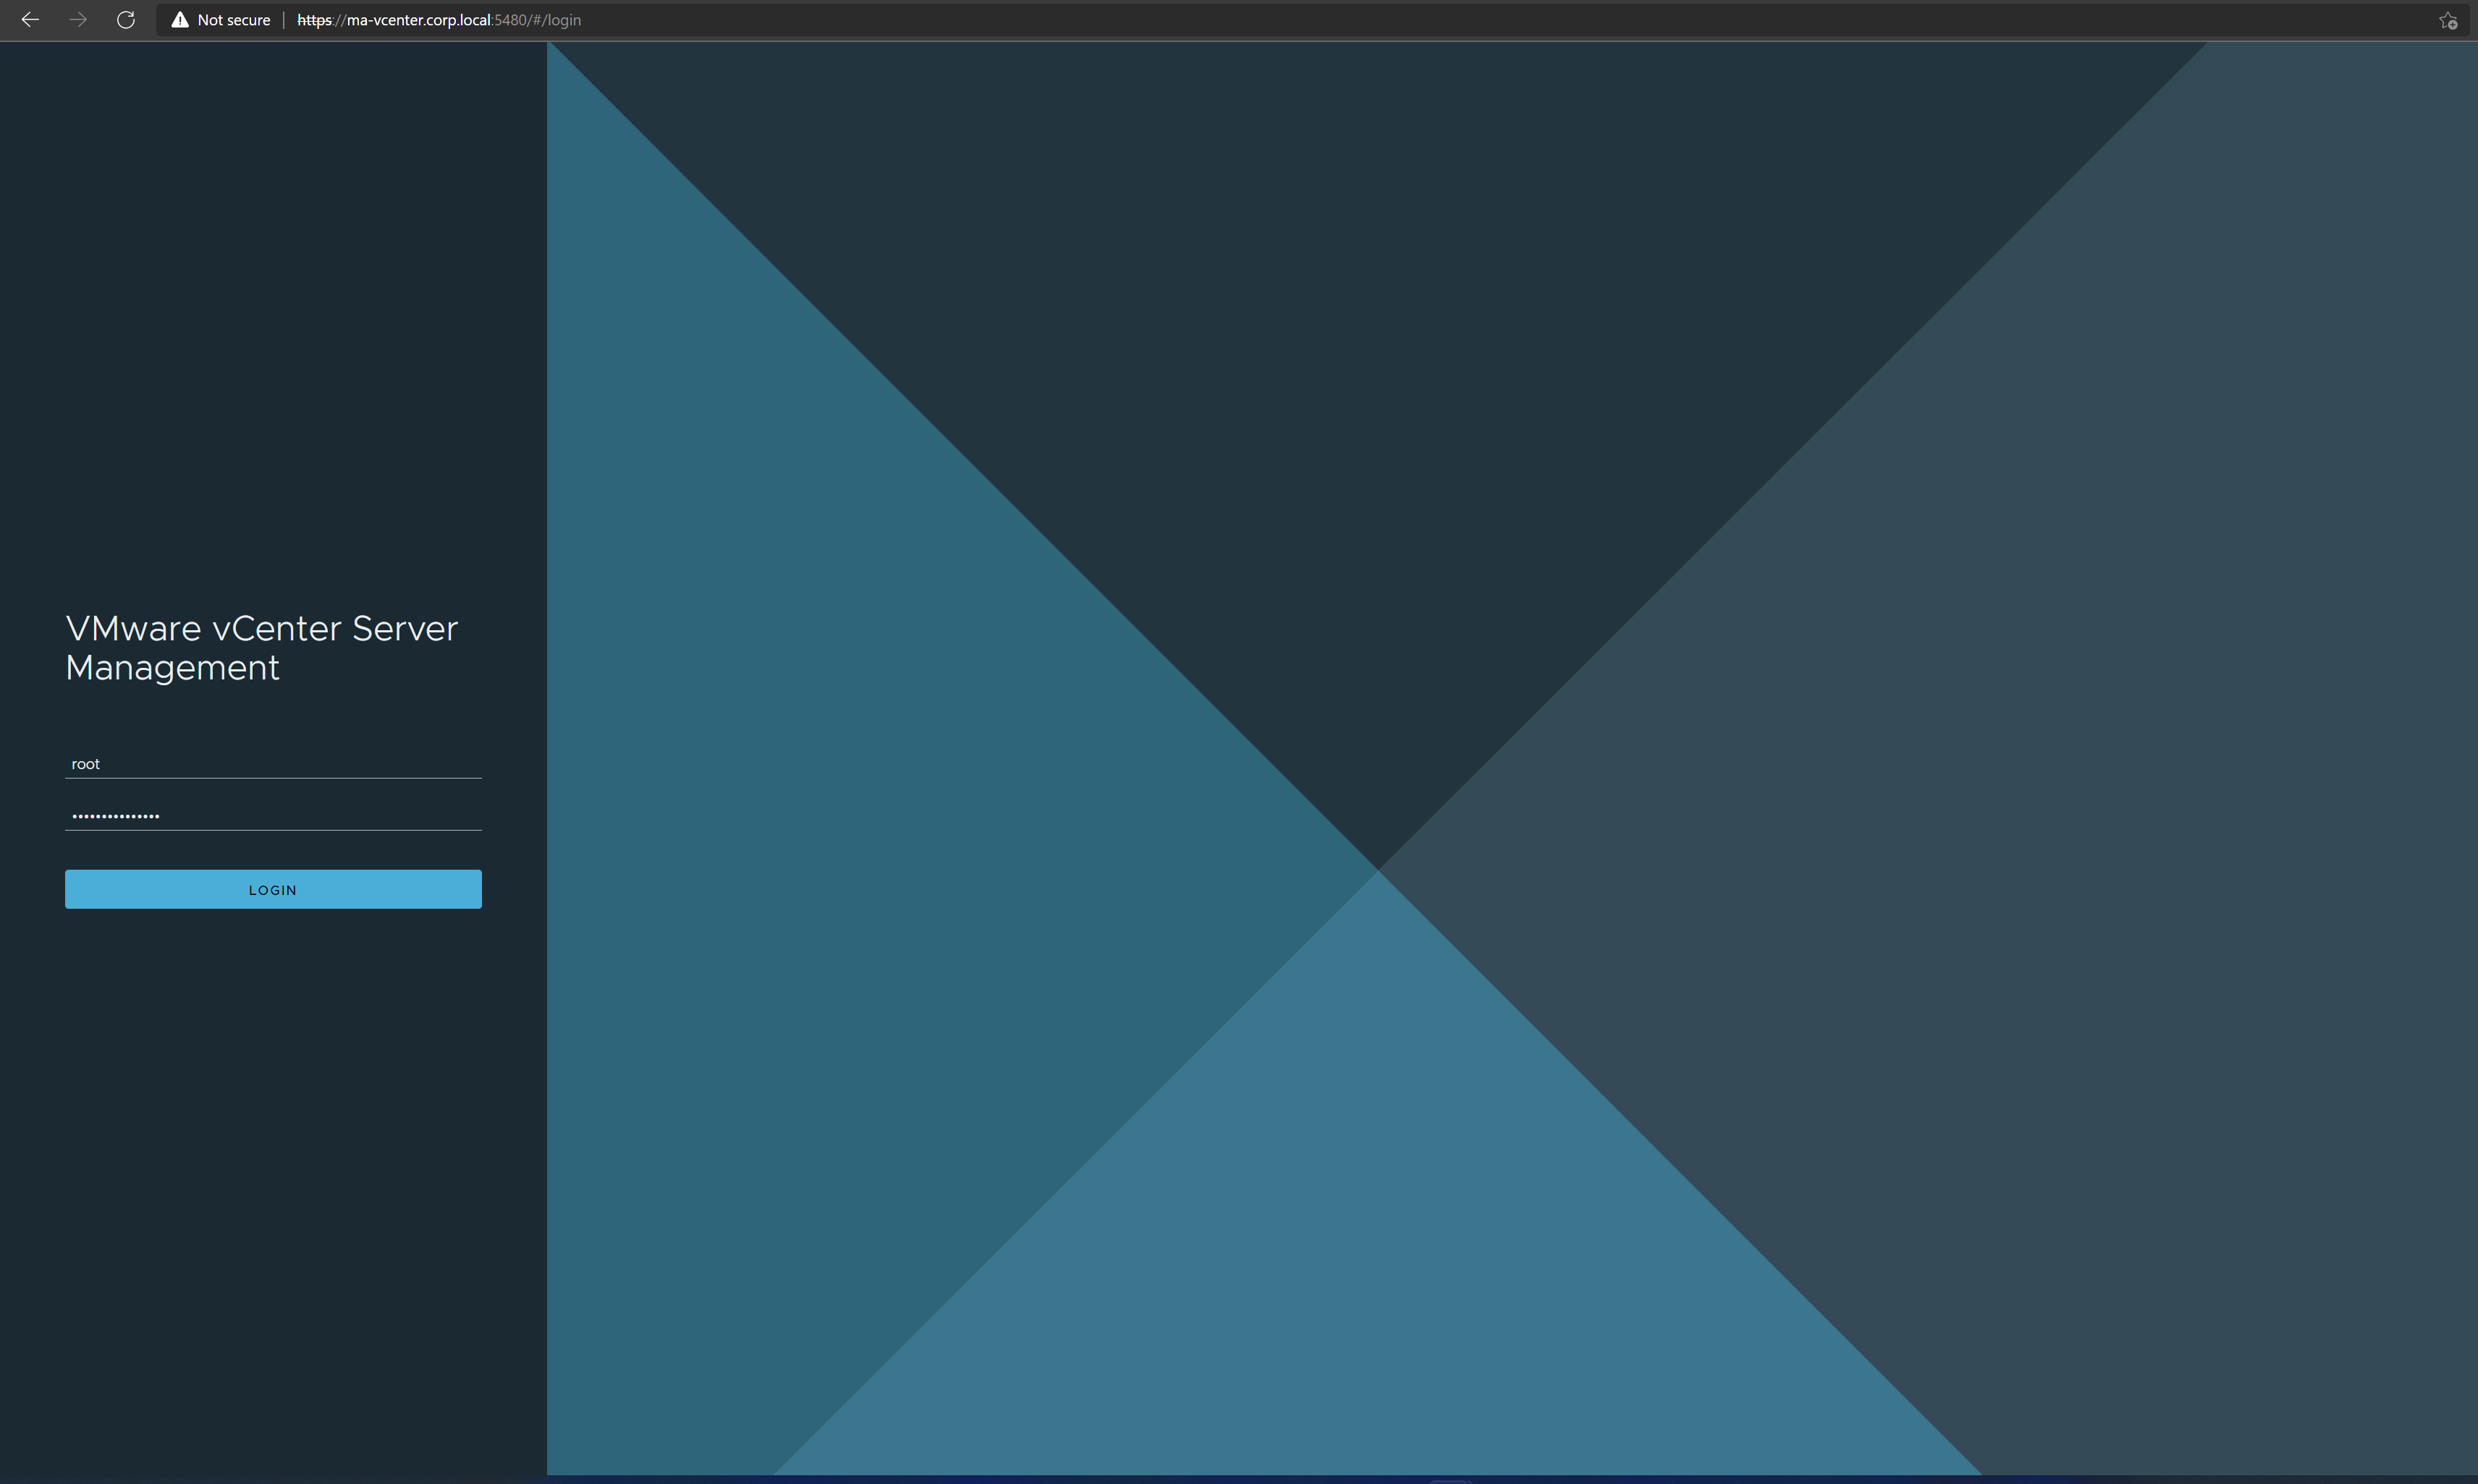
1. Login to vCenter Applicance Management (Port 5480)
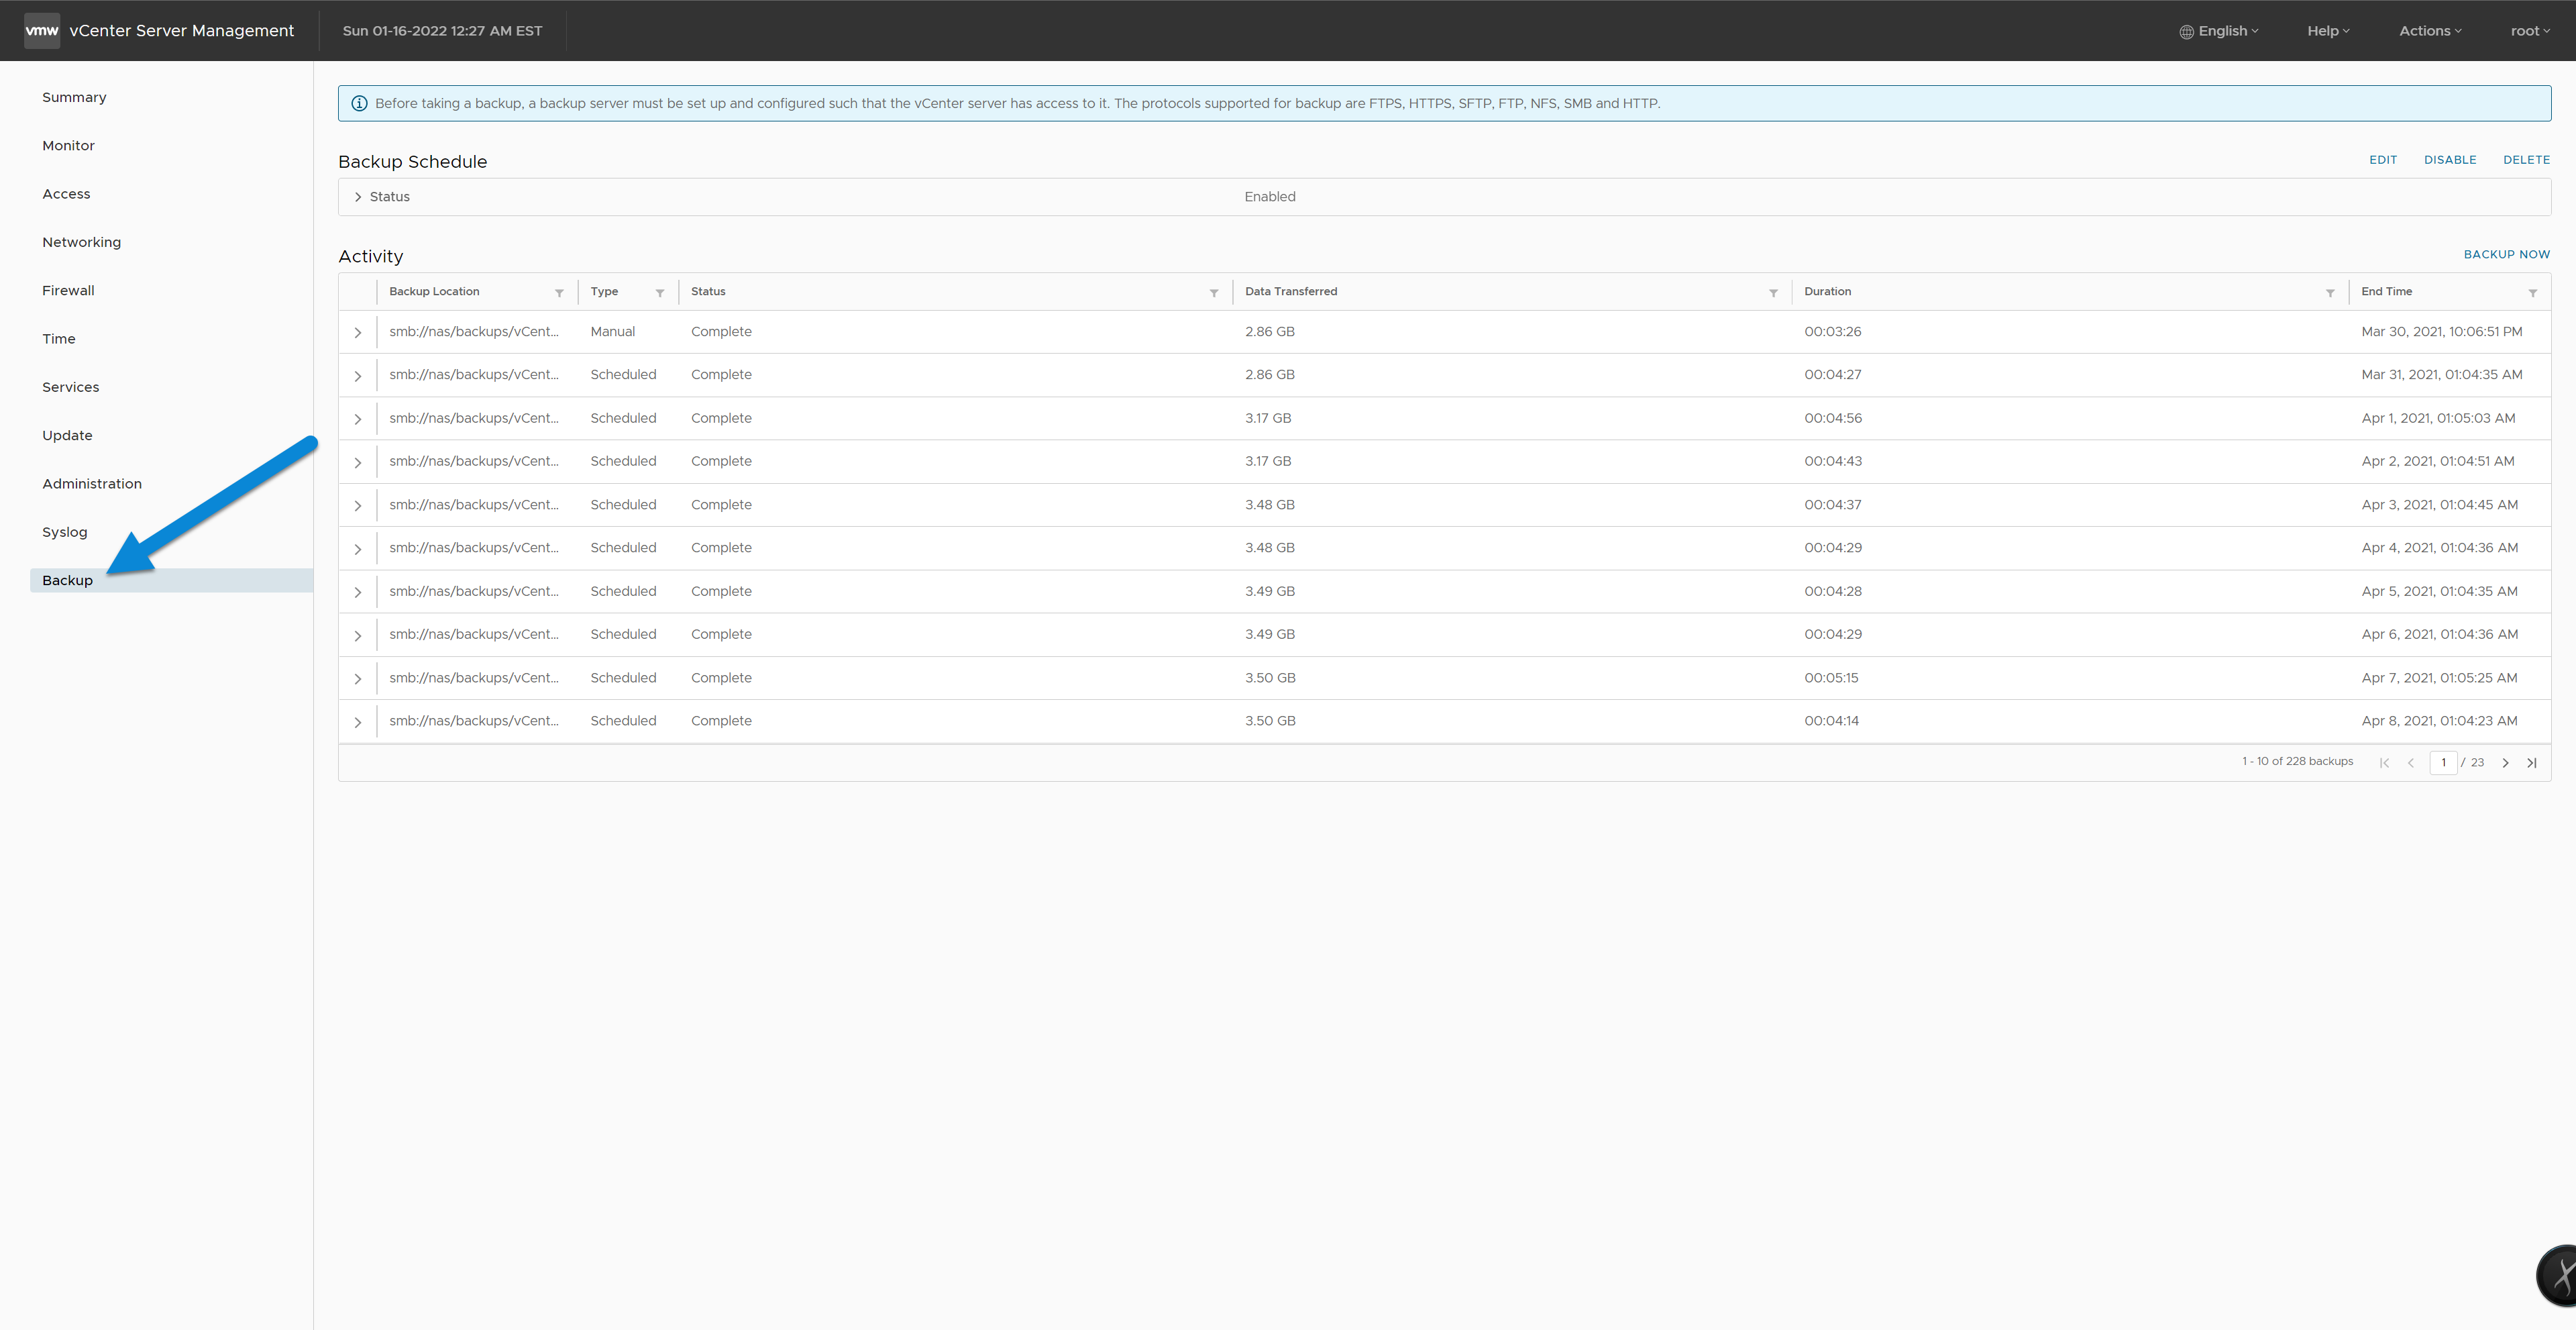
2. Navigate to the Backup Page
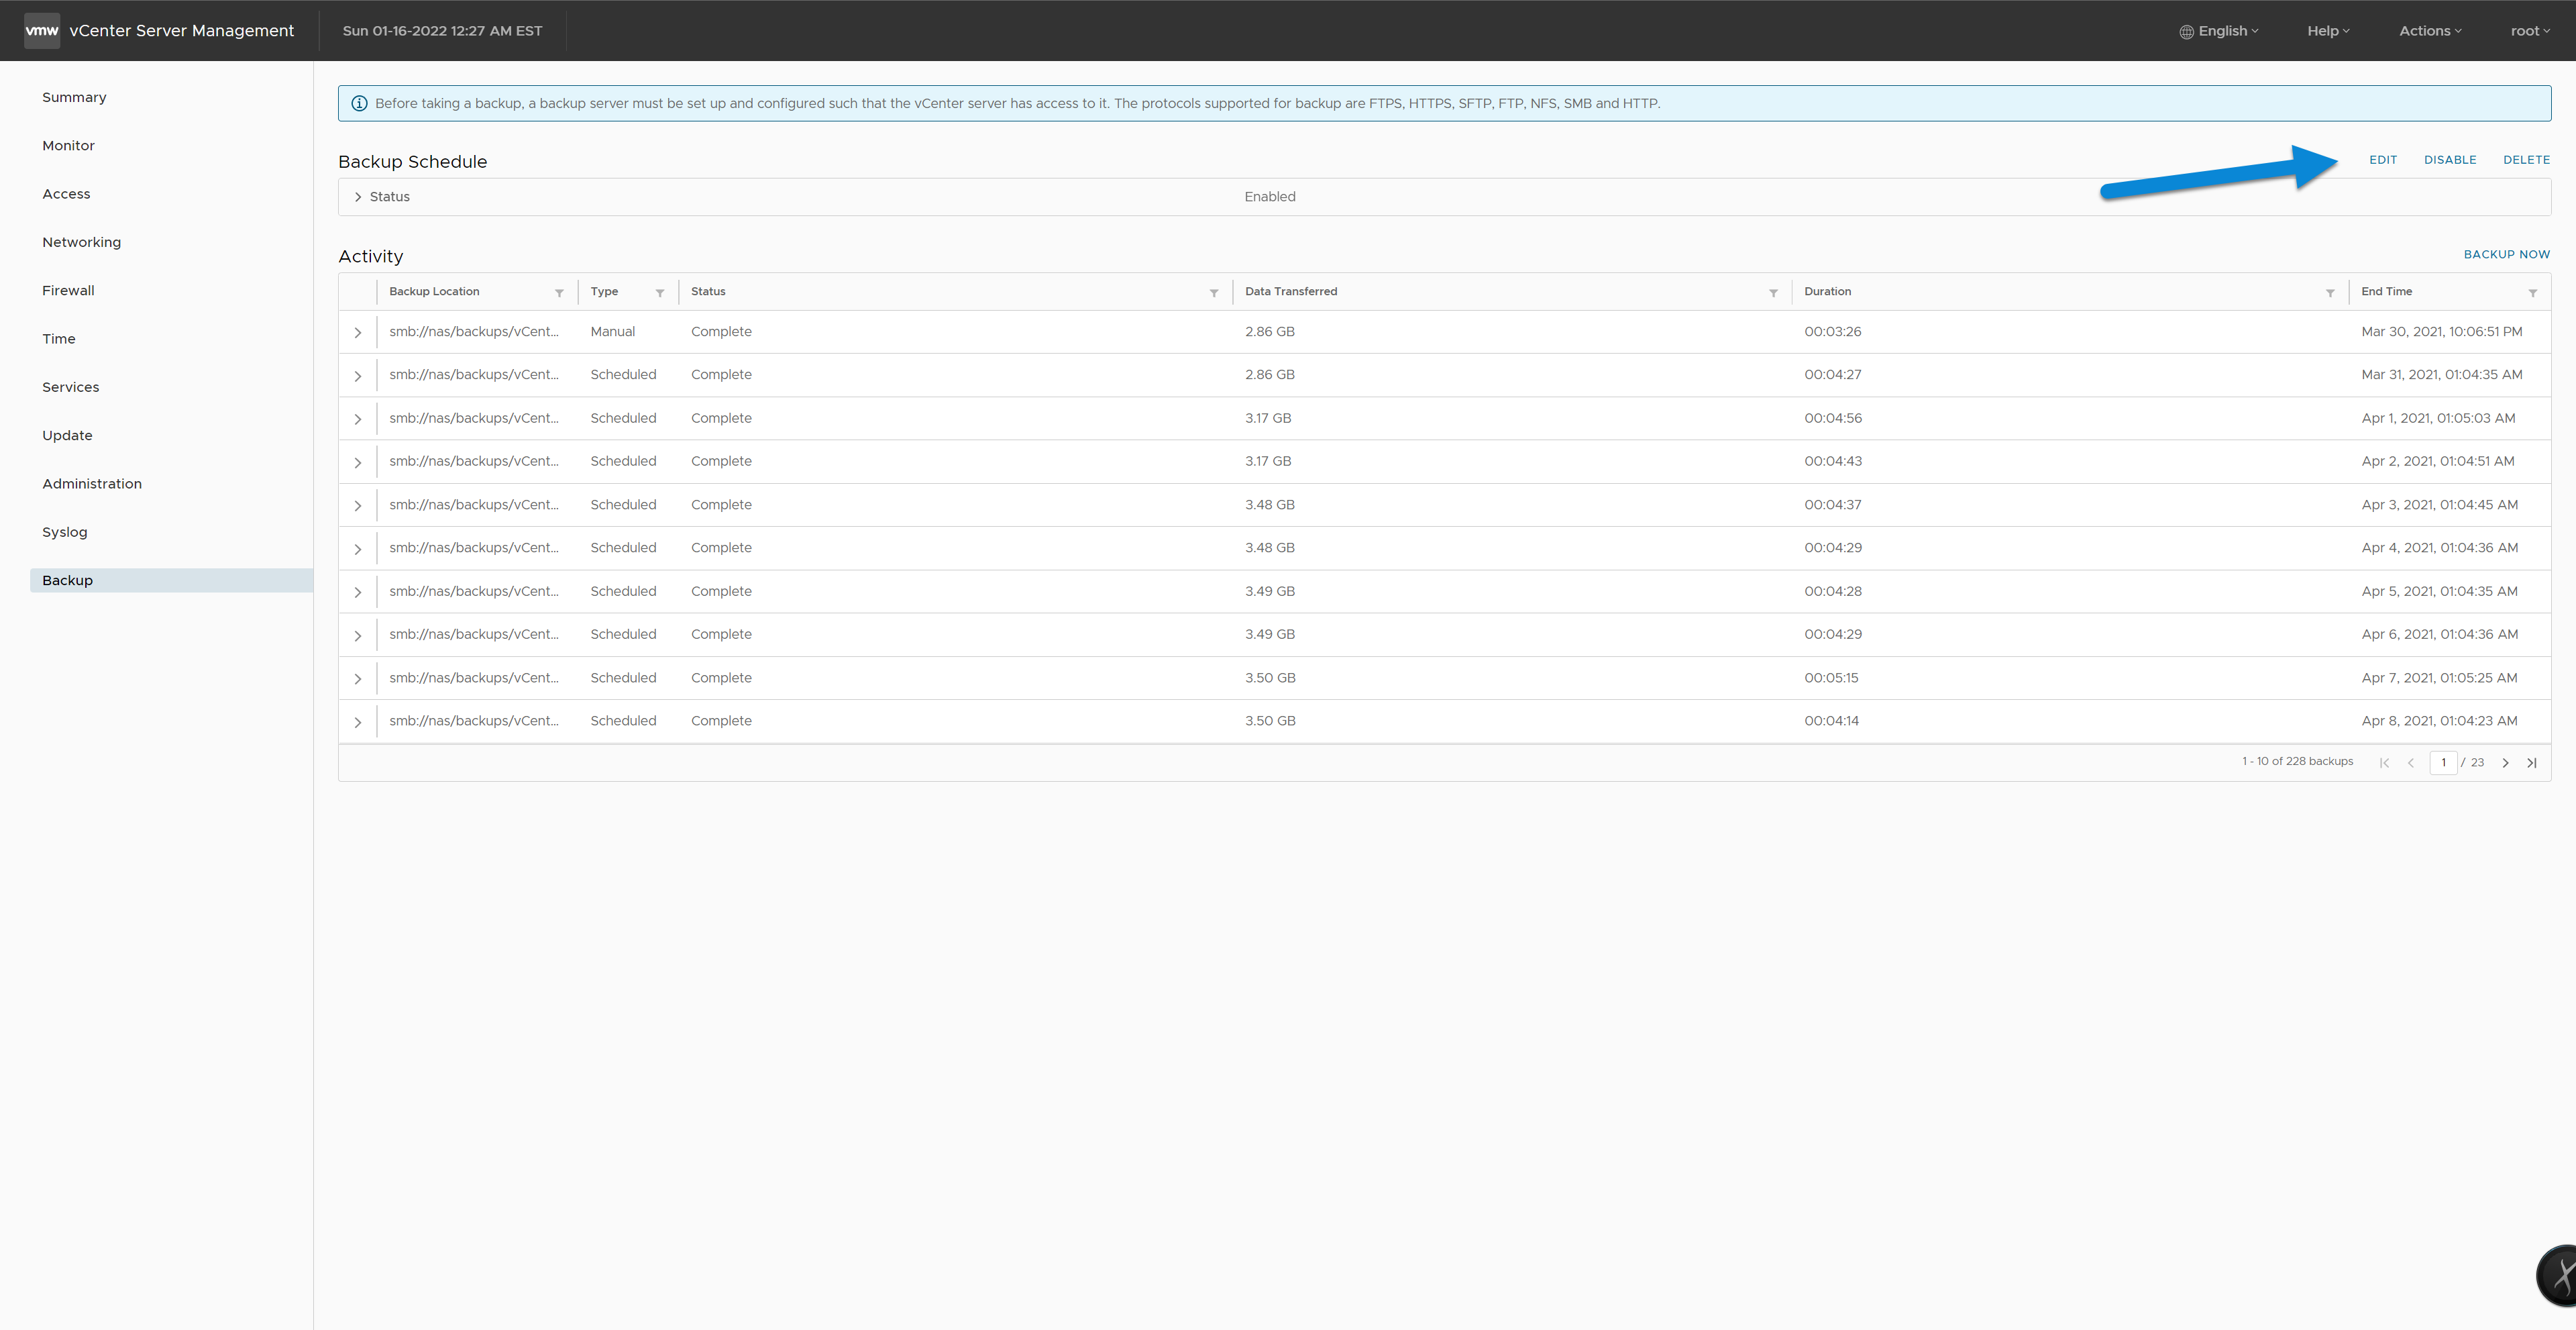
3. Choose Configure or Edit (Top Right Corner) to Set Up a Backup Schedule
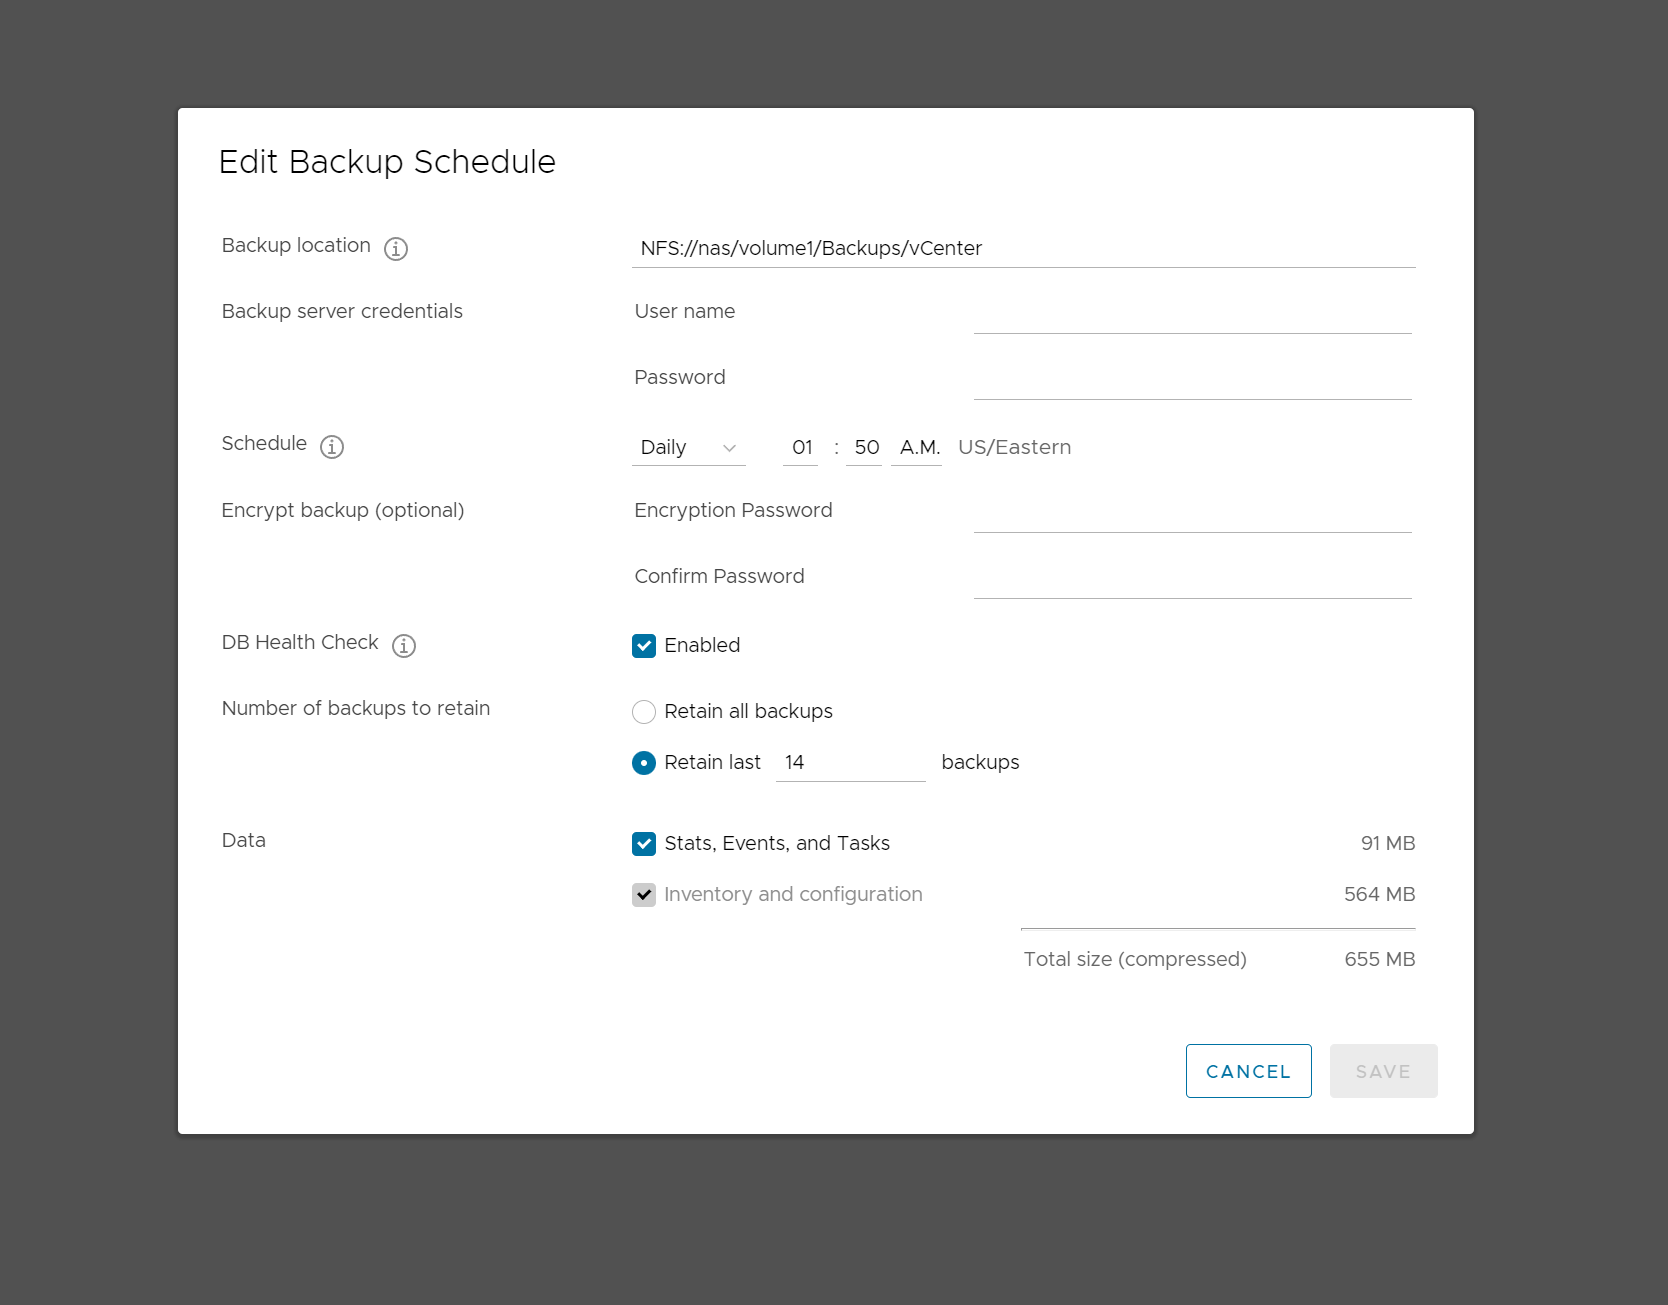
4. Configure Backup Settings
In this step, set your backup location by entering the protocol you want to use, along with the hostname and path of where you want the updates to go. Clicking on the (i) icon will explain the options and format. Enter credentials for your backup target, set the schedule (frequency) of your backups.
You don't need to include "vCenter" in your path, vCenter will make a folder called "vCenter" automatically in the path you set.
If you want to encrypt your backups you can set a password in the middle fields. We recommend keeping the DB Health Check option enabled (if the health check fails, it will not take a backup so be sure to check your backups regularly.
Choose how many backups you want to retain (the backups can eat up a lot of space, so setting a limit can be a good idea).
Choose if you want to backup stats, events and task, then hit save.
There are currently known issues on vCenter 7.0U3 for DB Health Checks and SMB backups. See known issues at the top of this page.
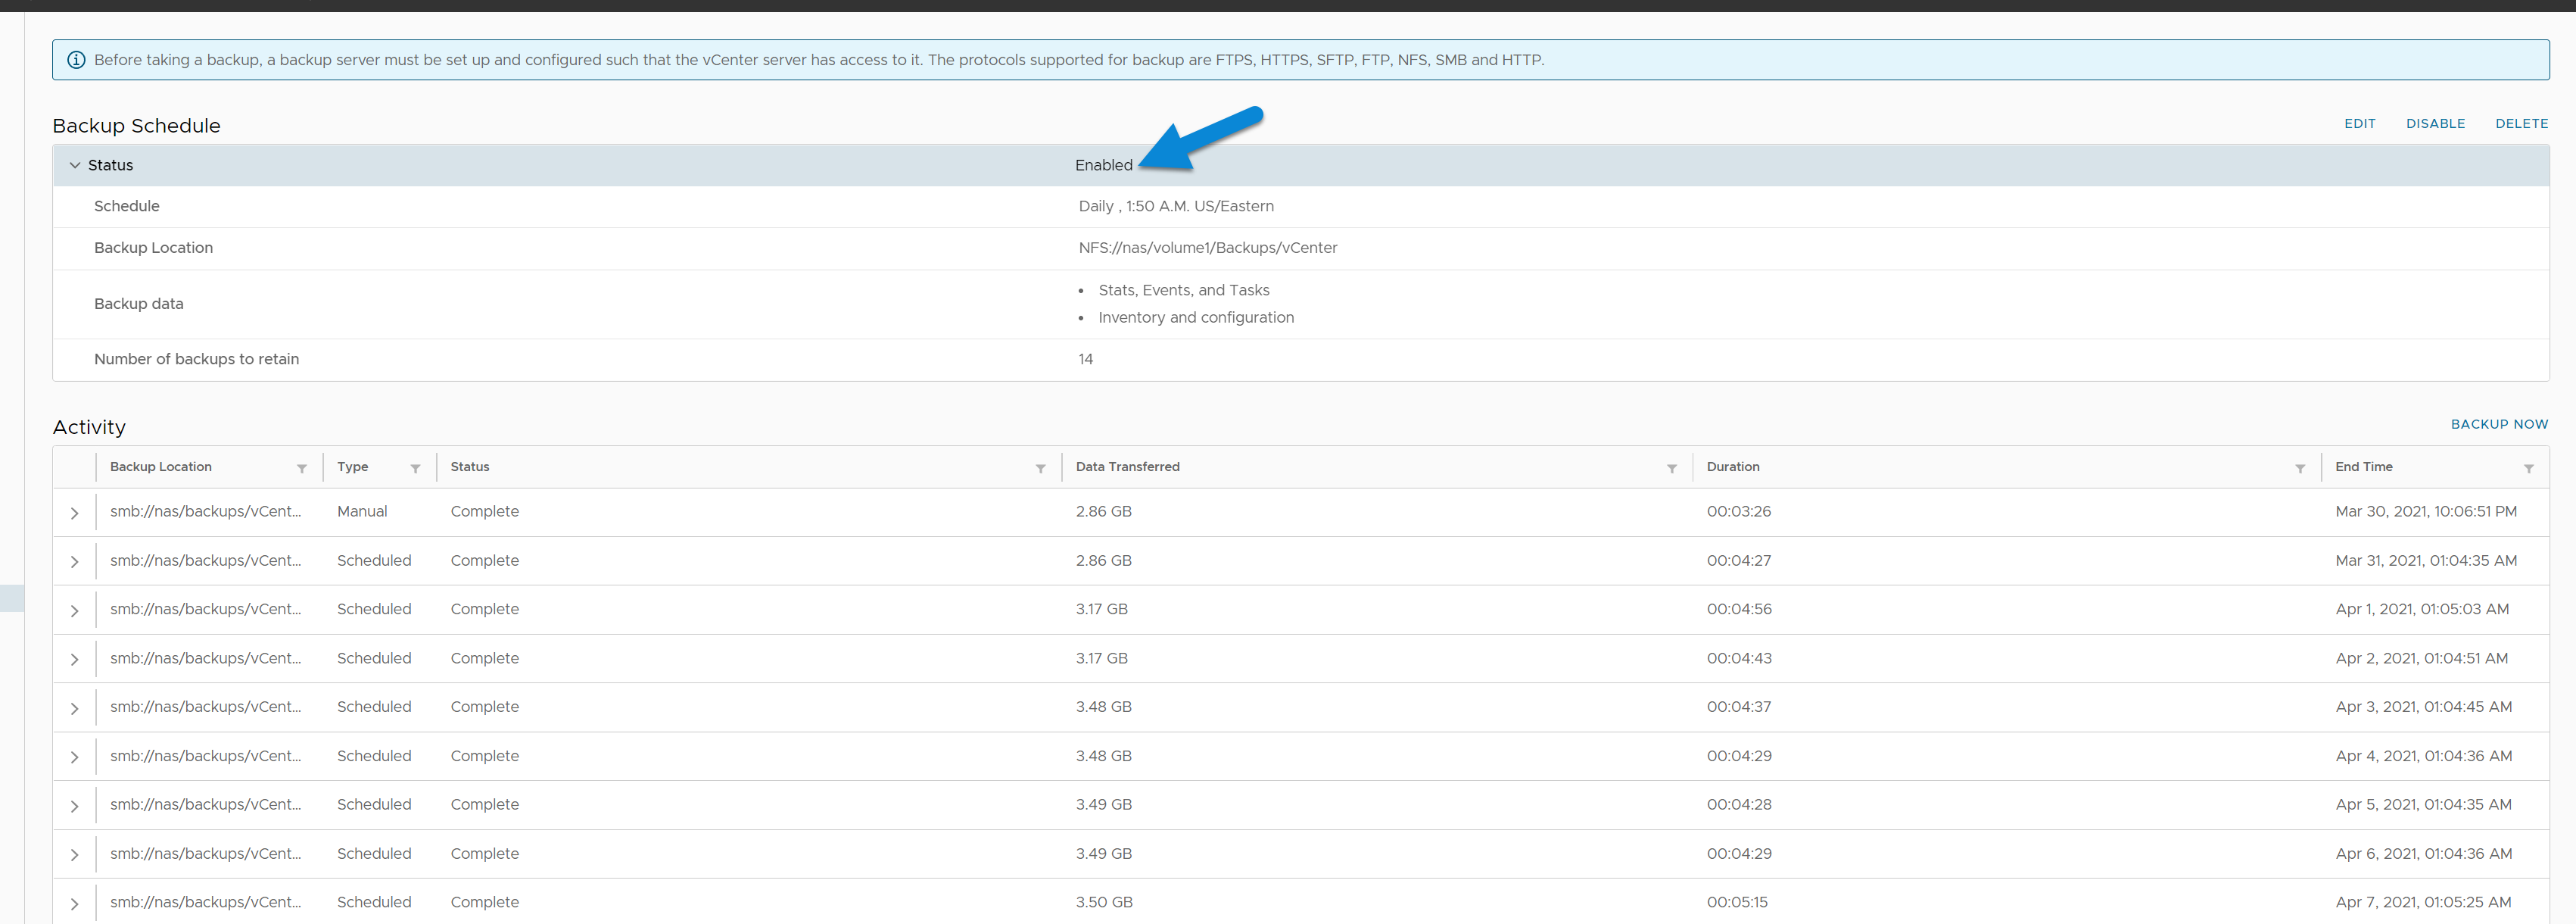
At this point your Backup Schedule show as Enabled, and backups will happen automatically!
Taking a Manual Backup
1. Login to vCenter Applicance Management (Port 5480)
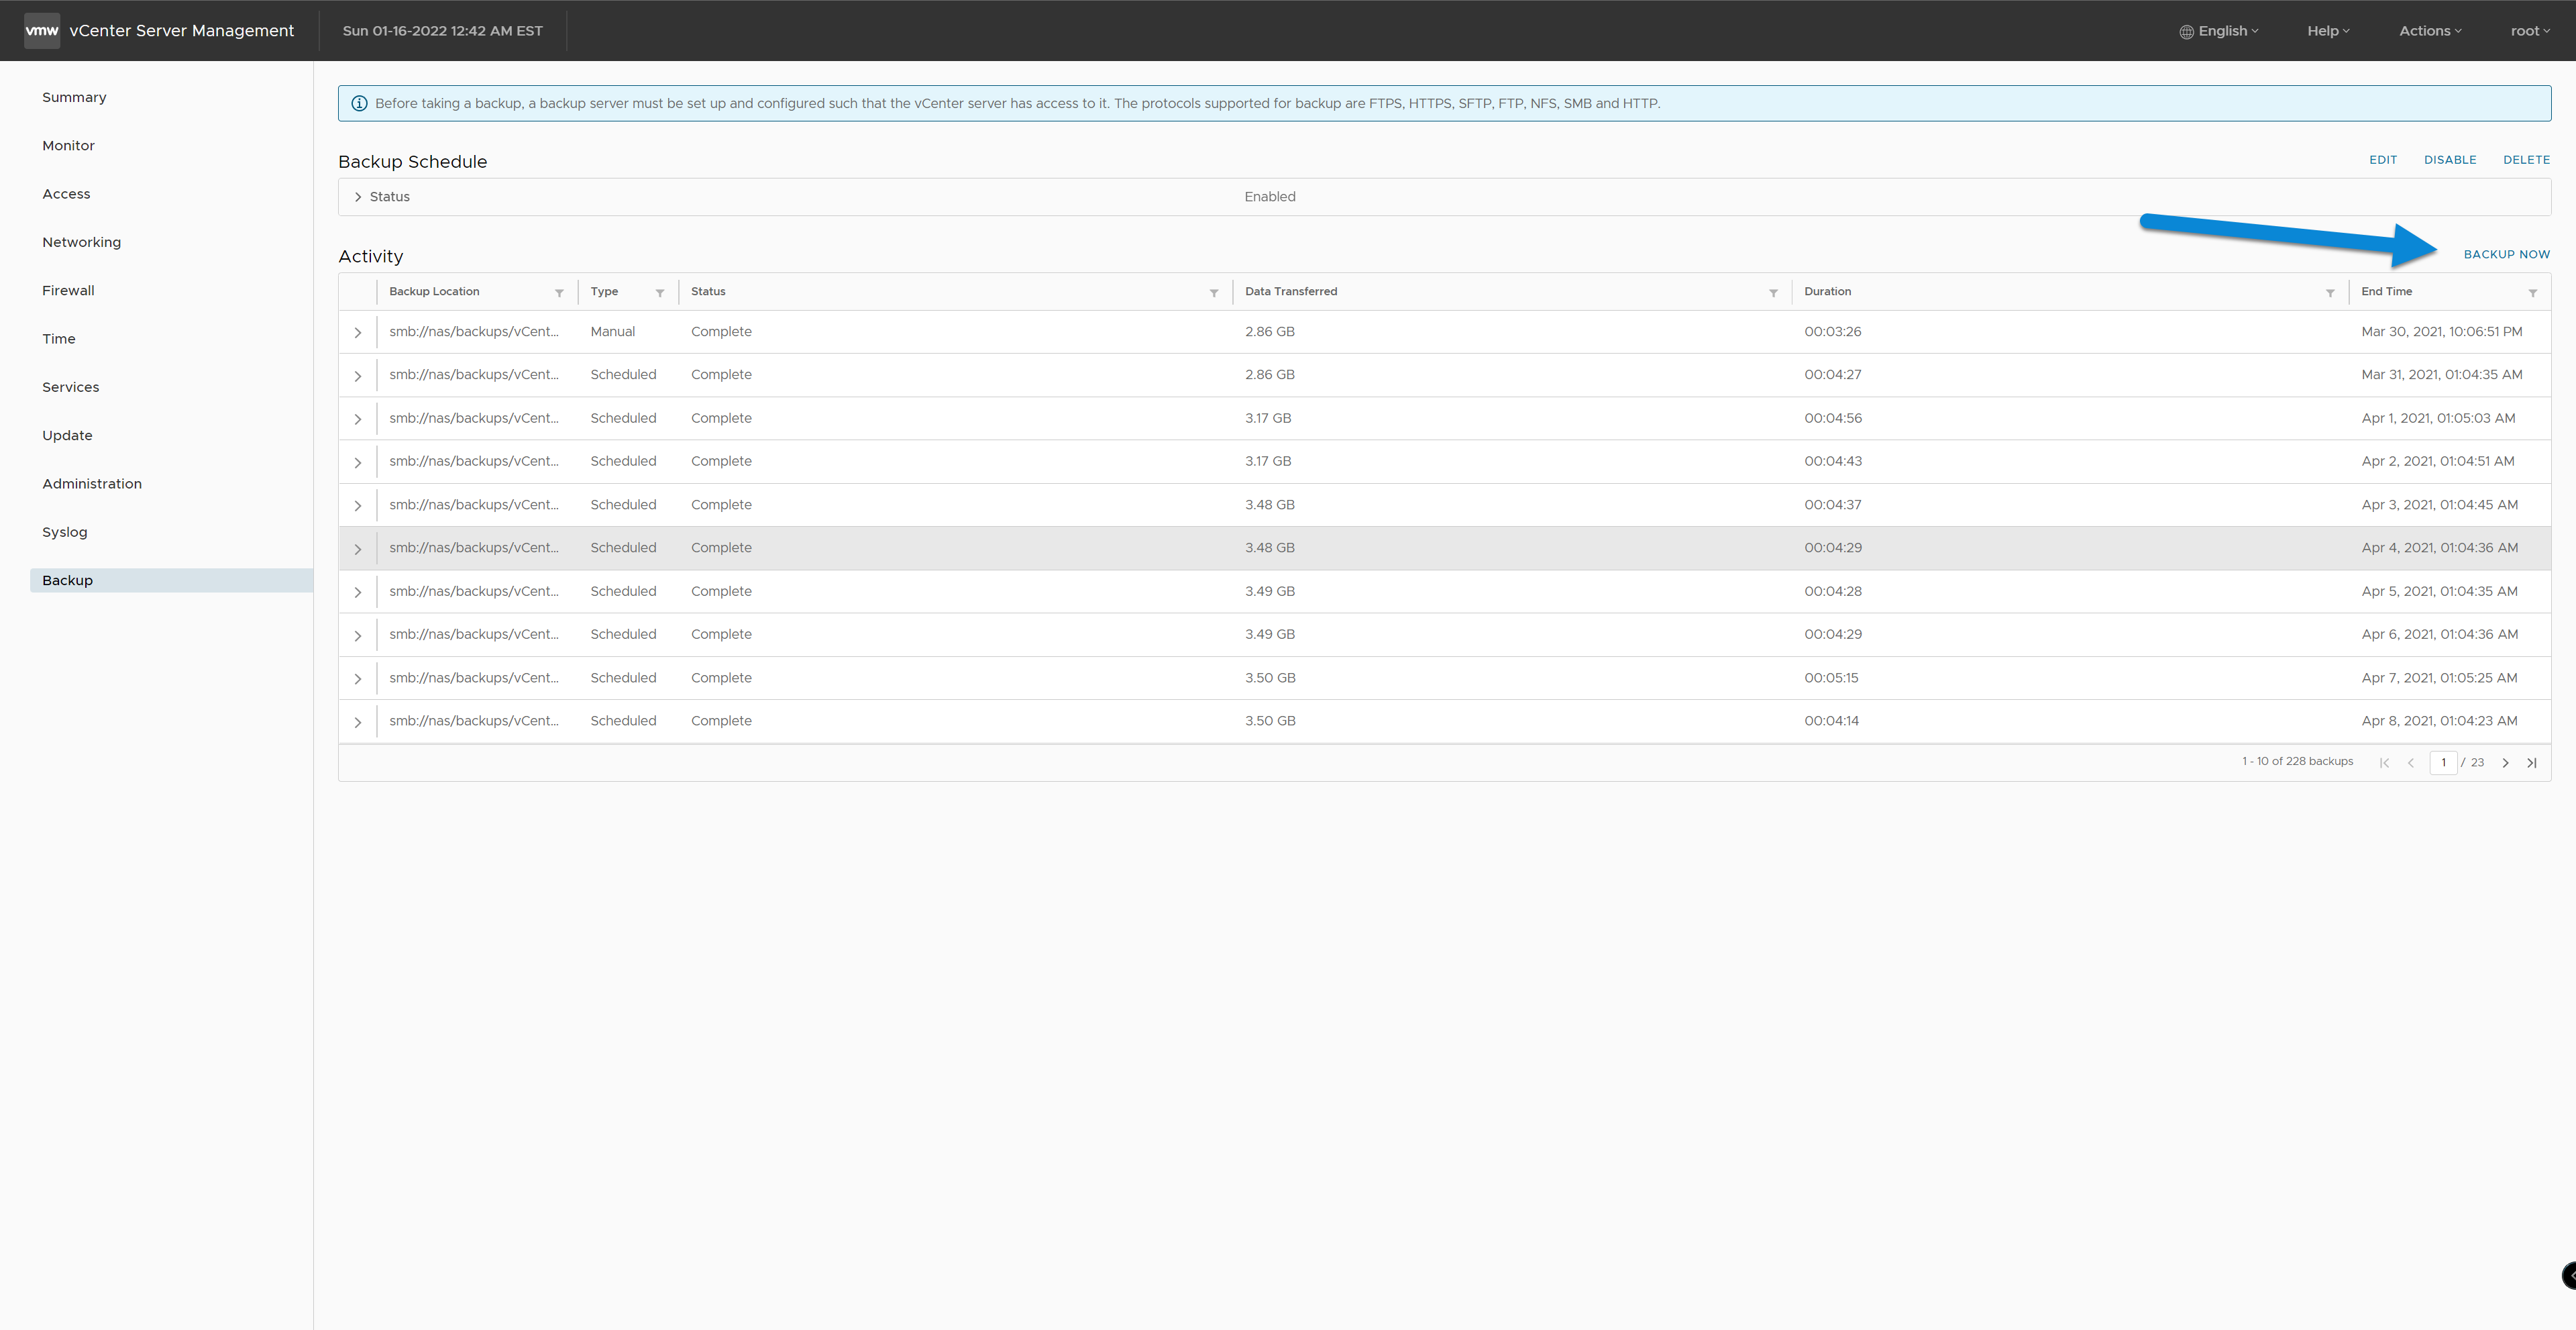
2. Navigate to the Backup Page
3. Click Backup Now (Top Right Corner)
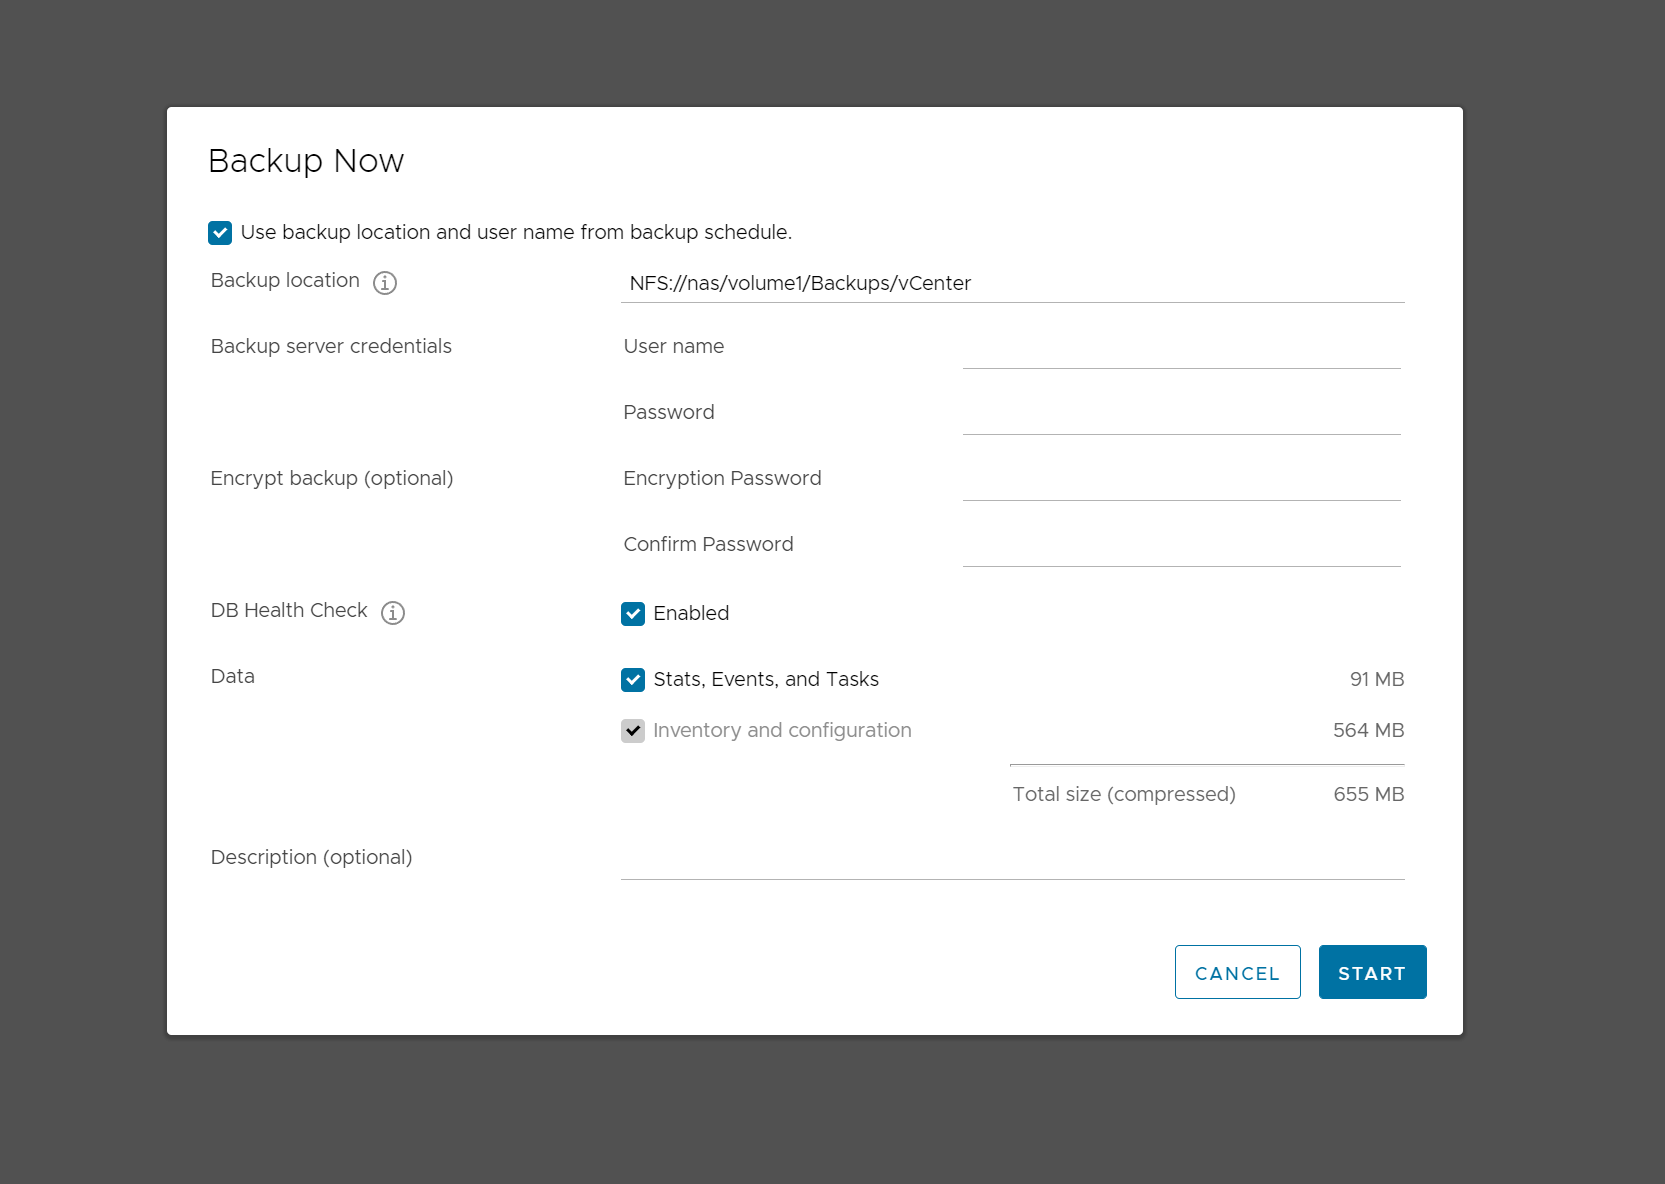
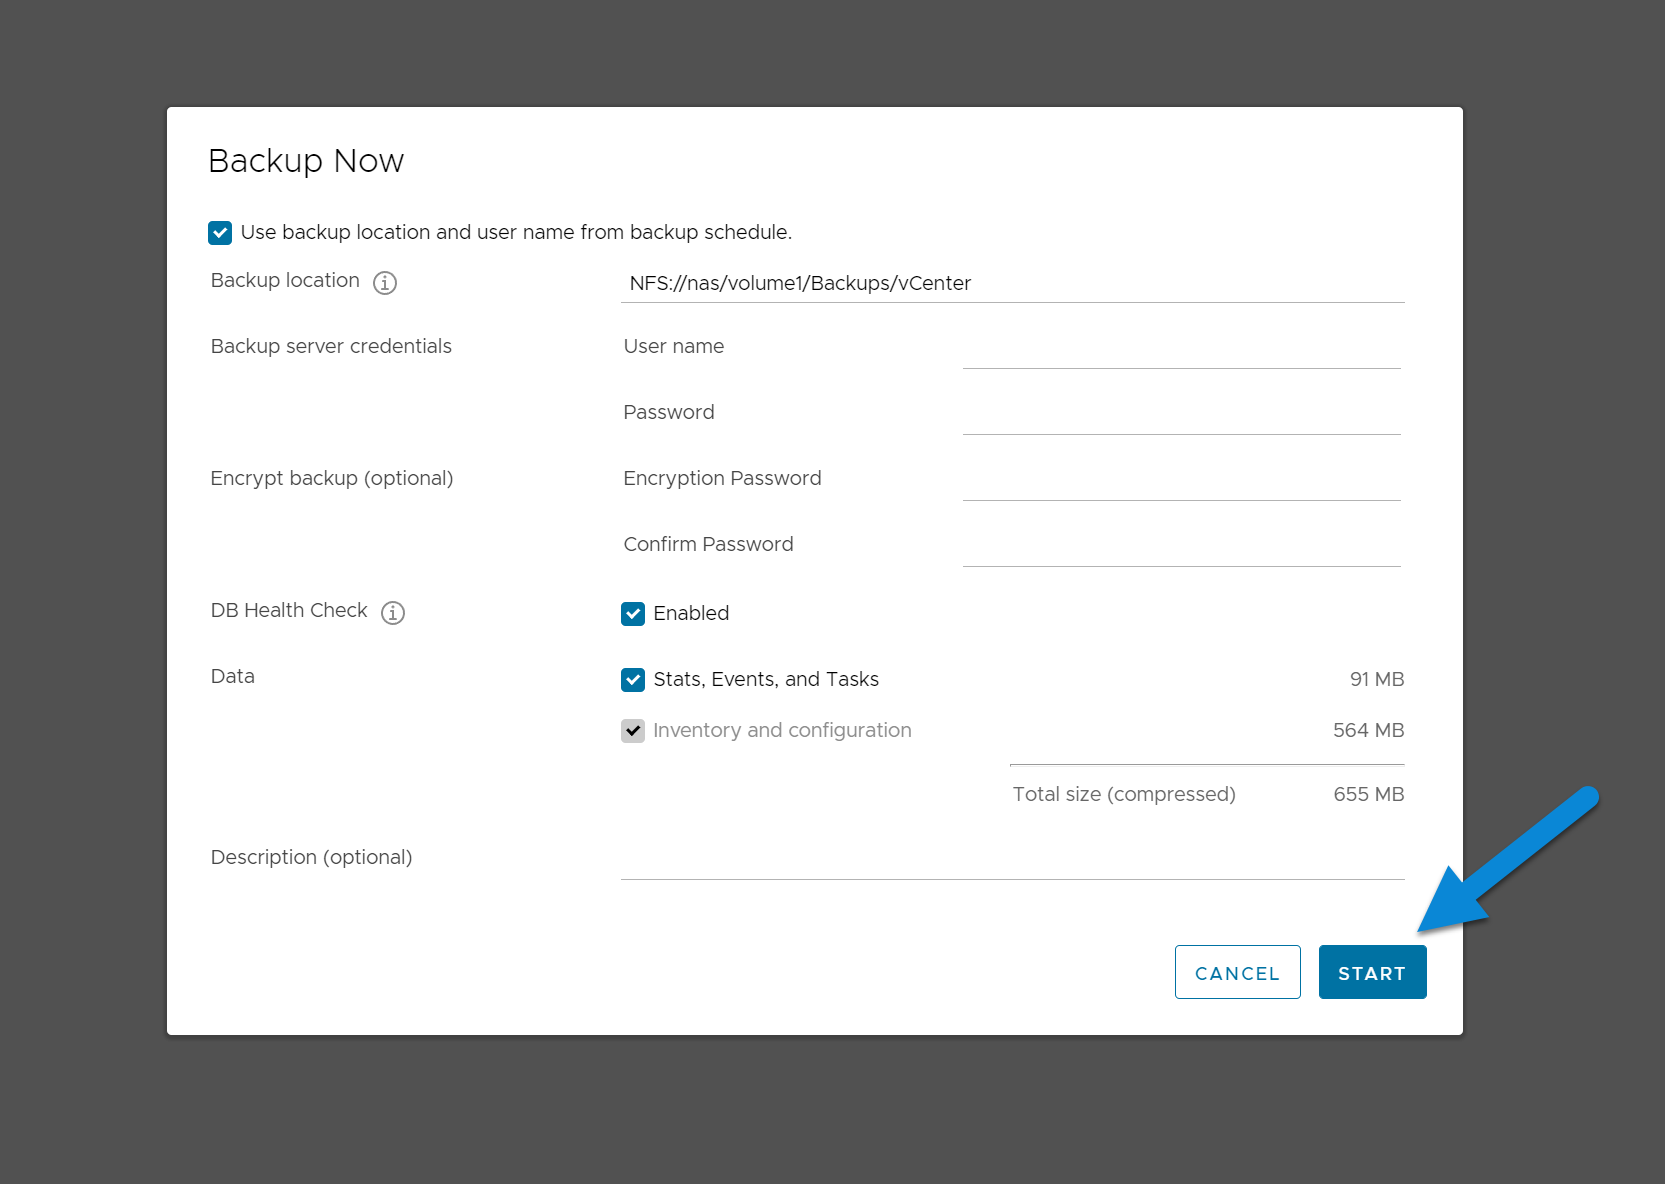
4. Configure Backup Settings
If you already have a schedule created, you can conveniently just press the checkbox at the top to pre-populate some the Backup location and username. Please refer to step 4 of Setting a Backup Schedule for more information about each field. The main differences are that the schedule option is missing and there's now an option for setting a description.
5. Press Start
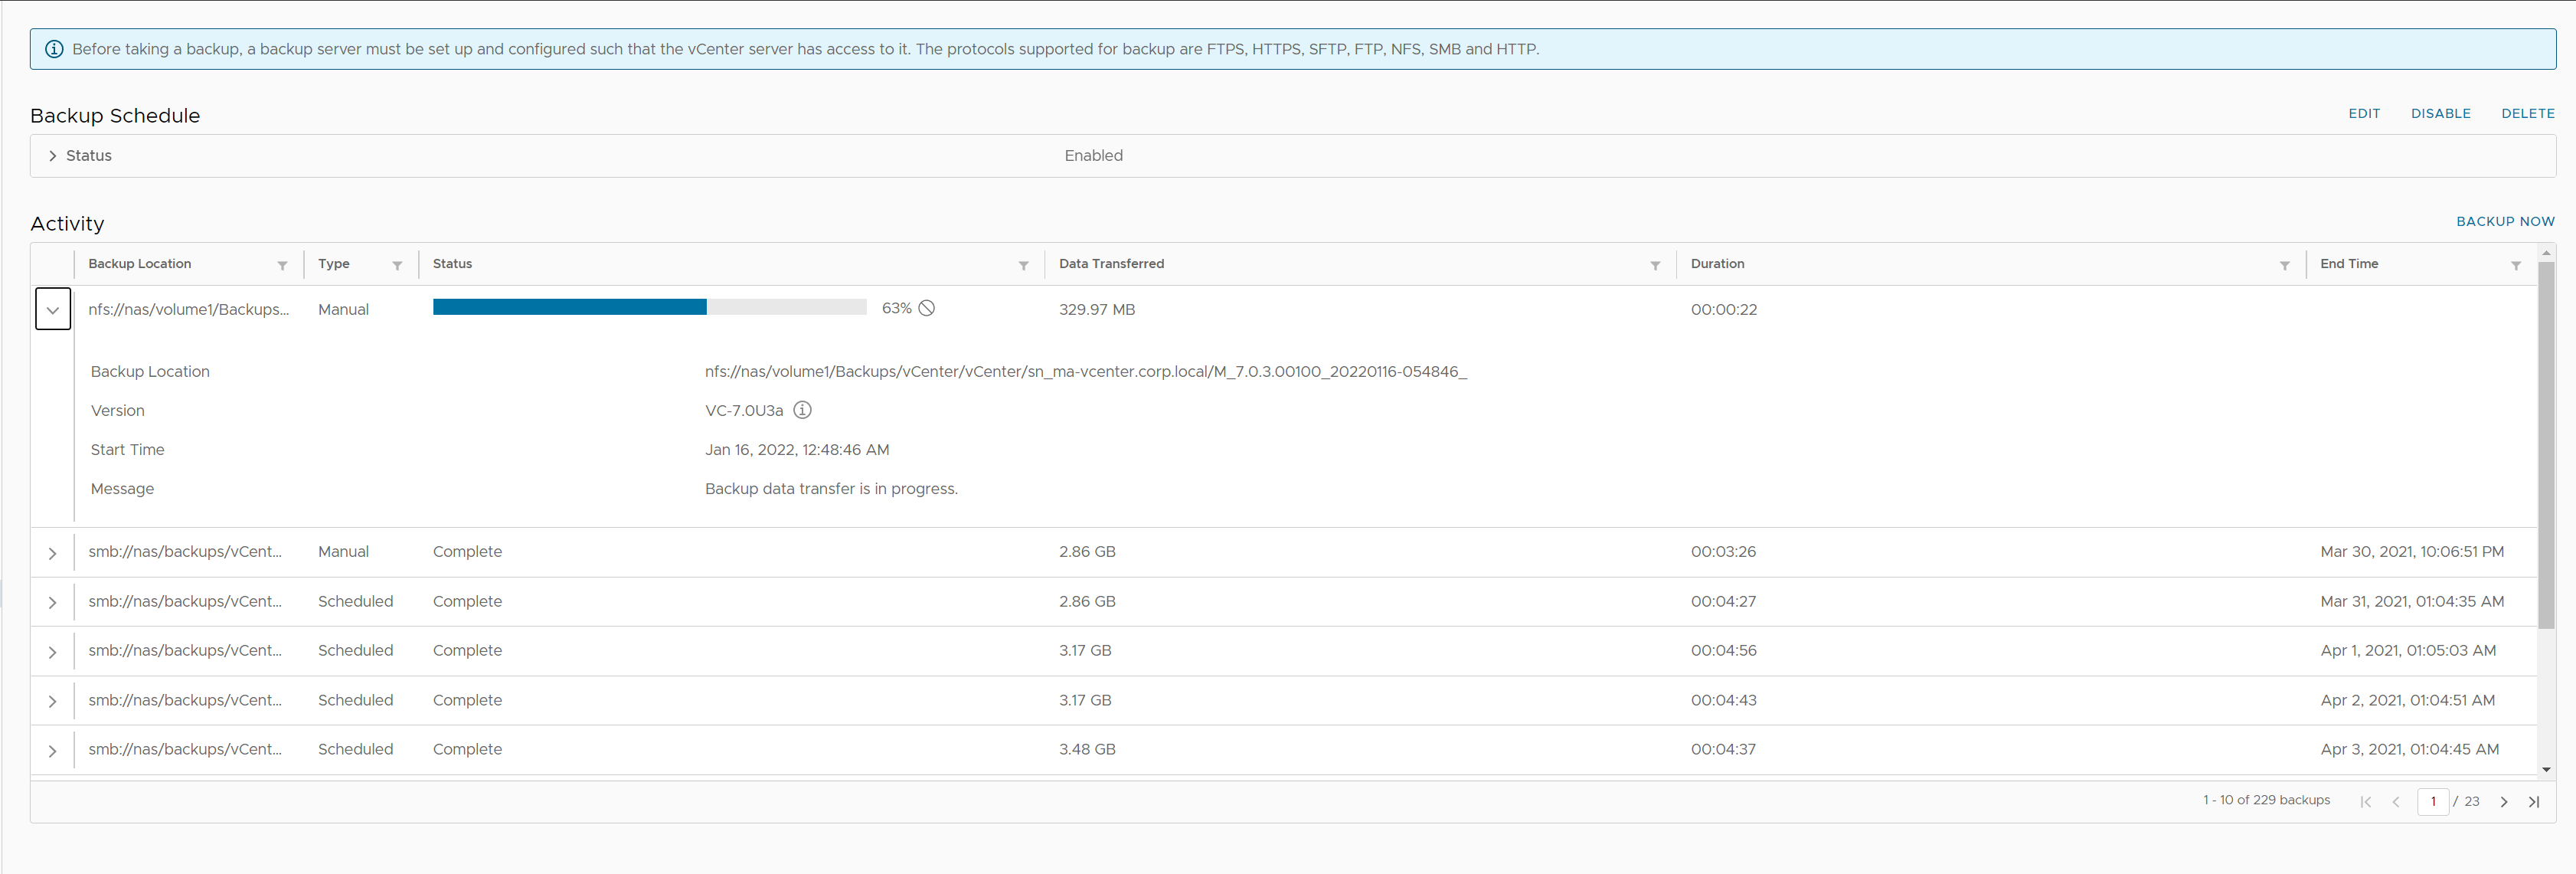
The backup should now be in progress (indicated by a progress bar). Once complete it will say "Complete" under Status. For Manual backups it will say "Manual" under type and "Scheduled" for scheduled.
That's it! You should now have a backup of your vCenter!
Issues
If there are any issues, the backup will show a red (i) symbol and say "Error". Clicking on the (i) symbol will indicate what went wrong.