
Removing a vCenter HA Configuration
To my knowledge there are only two ways to deconfigure/remove a vCenter HA Deployment. The first method is the easiest and involves using the vCenter UI to "Remove vCenter HA". The second method is to use the shell on the active vCenter node and run the destroy vCenter HA command.
Method 1:
- Login to vCenter.
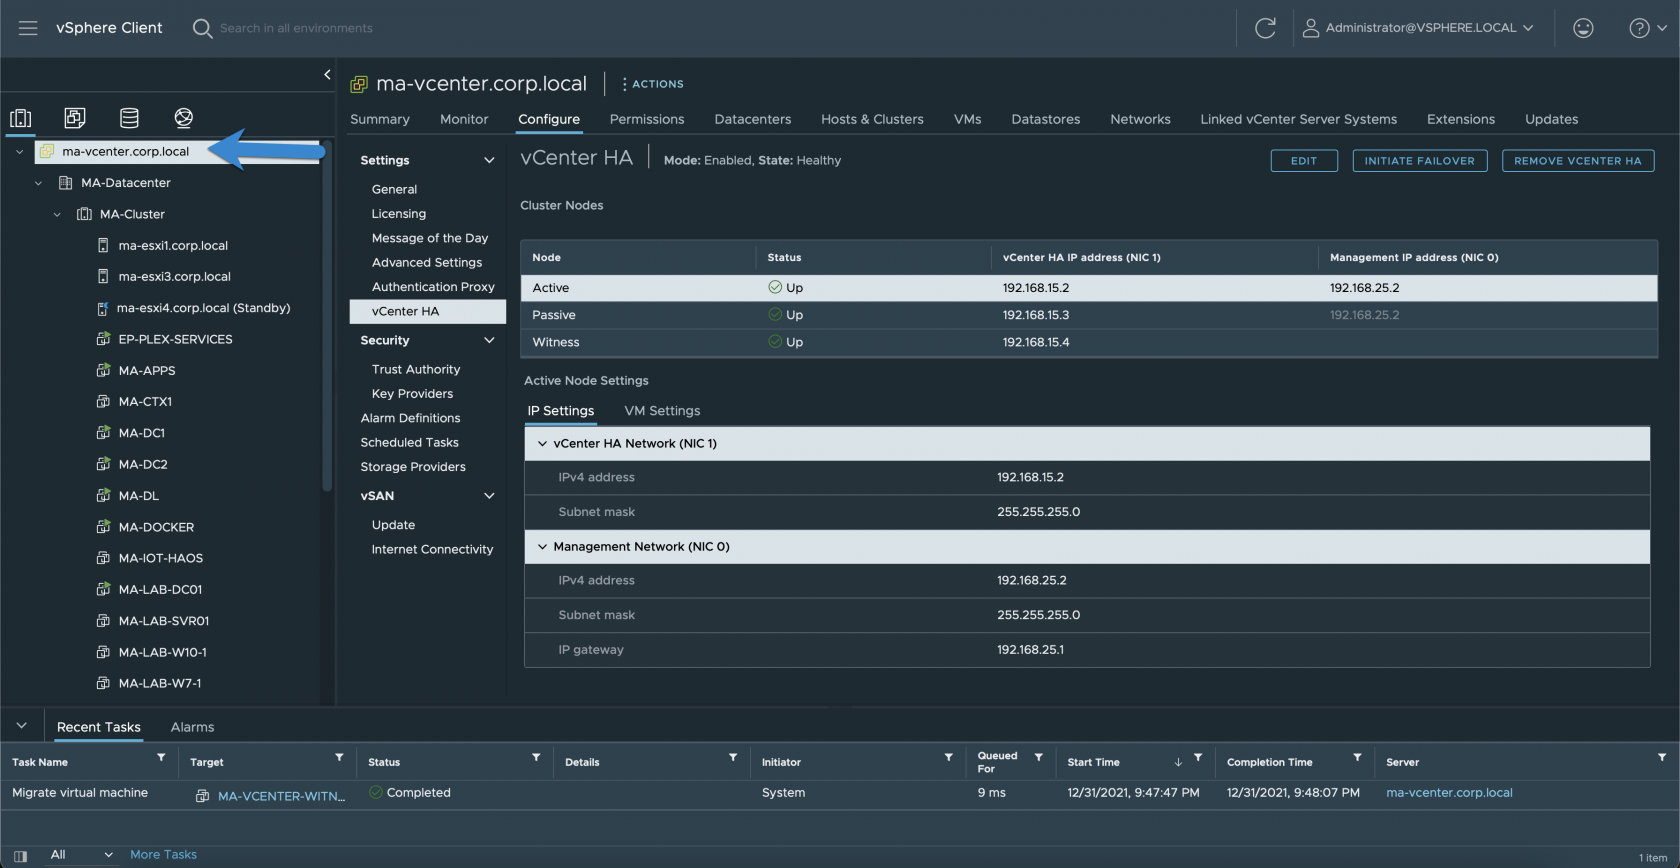
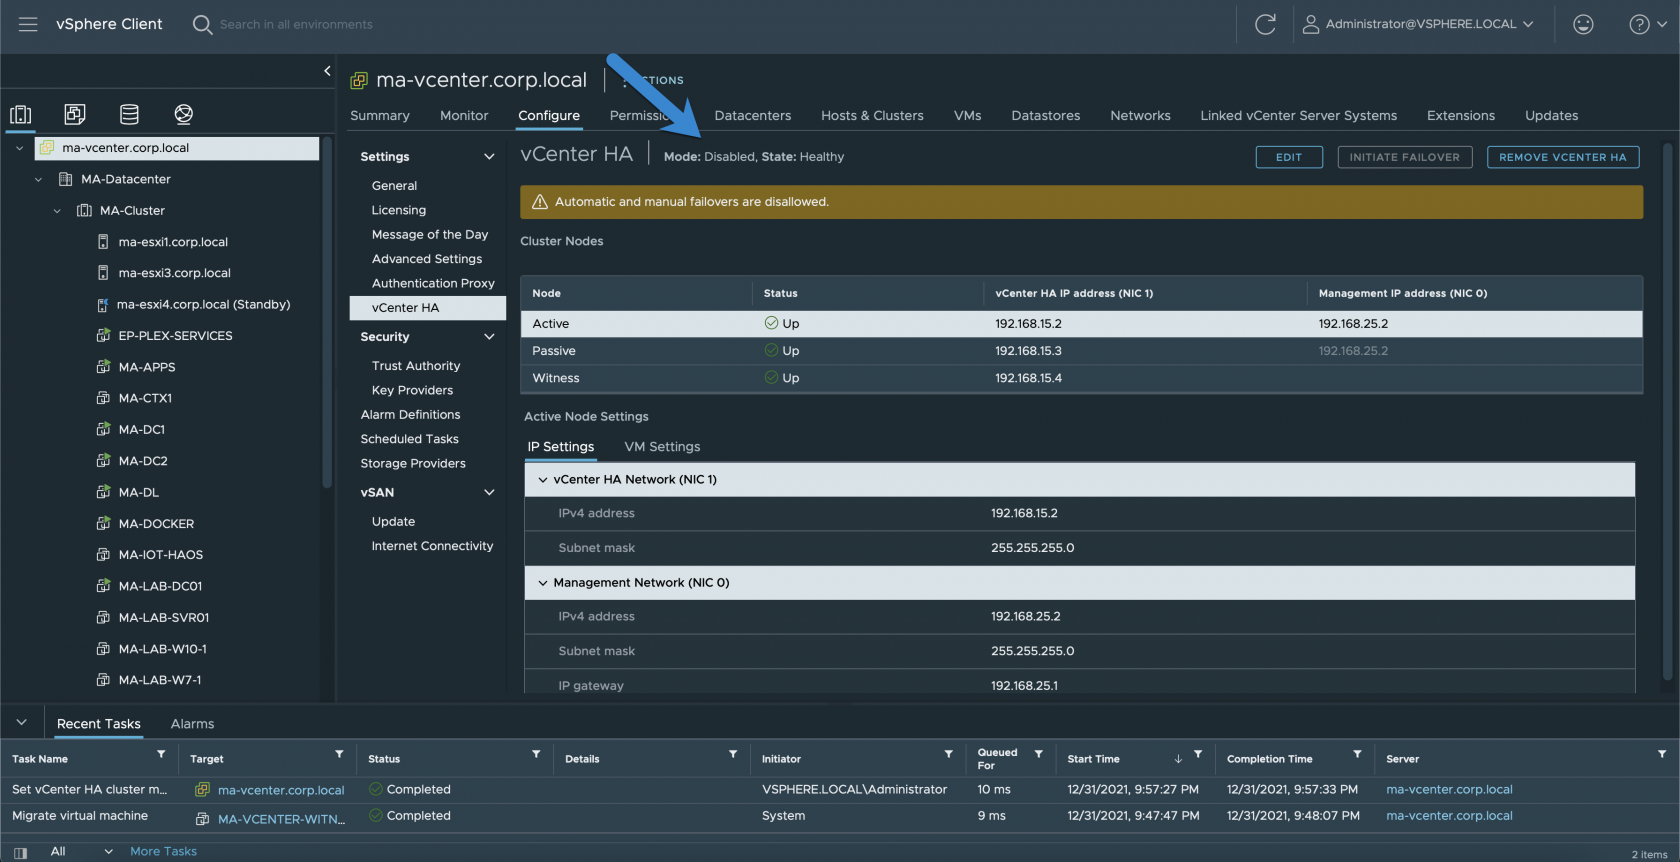
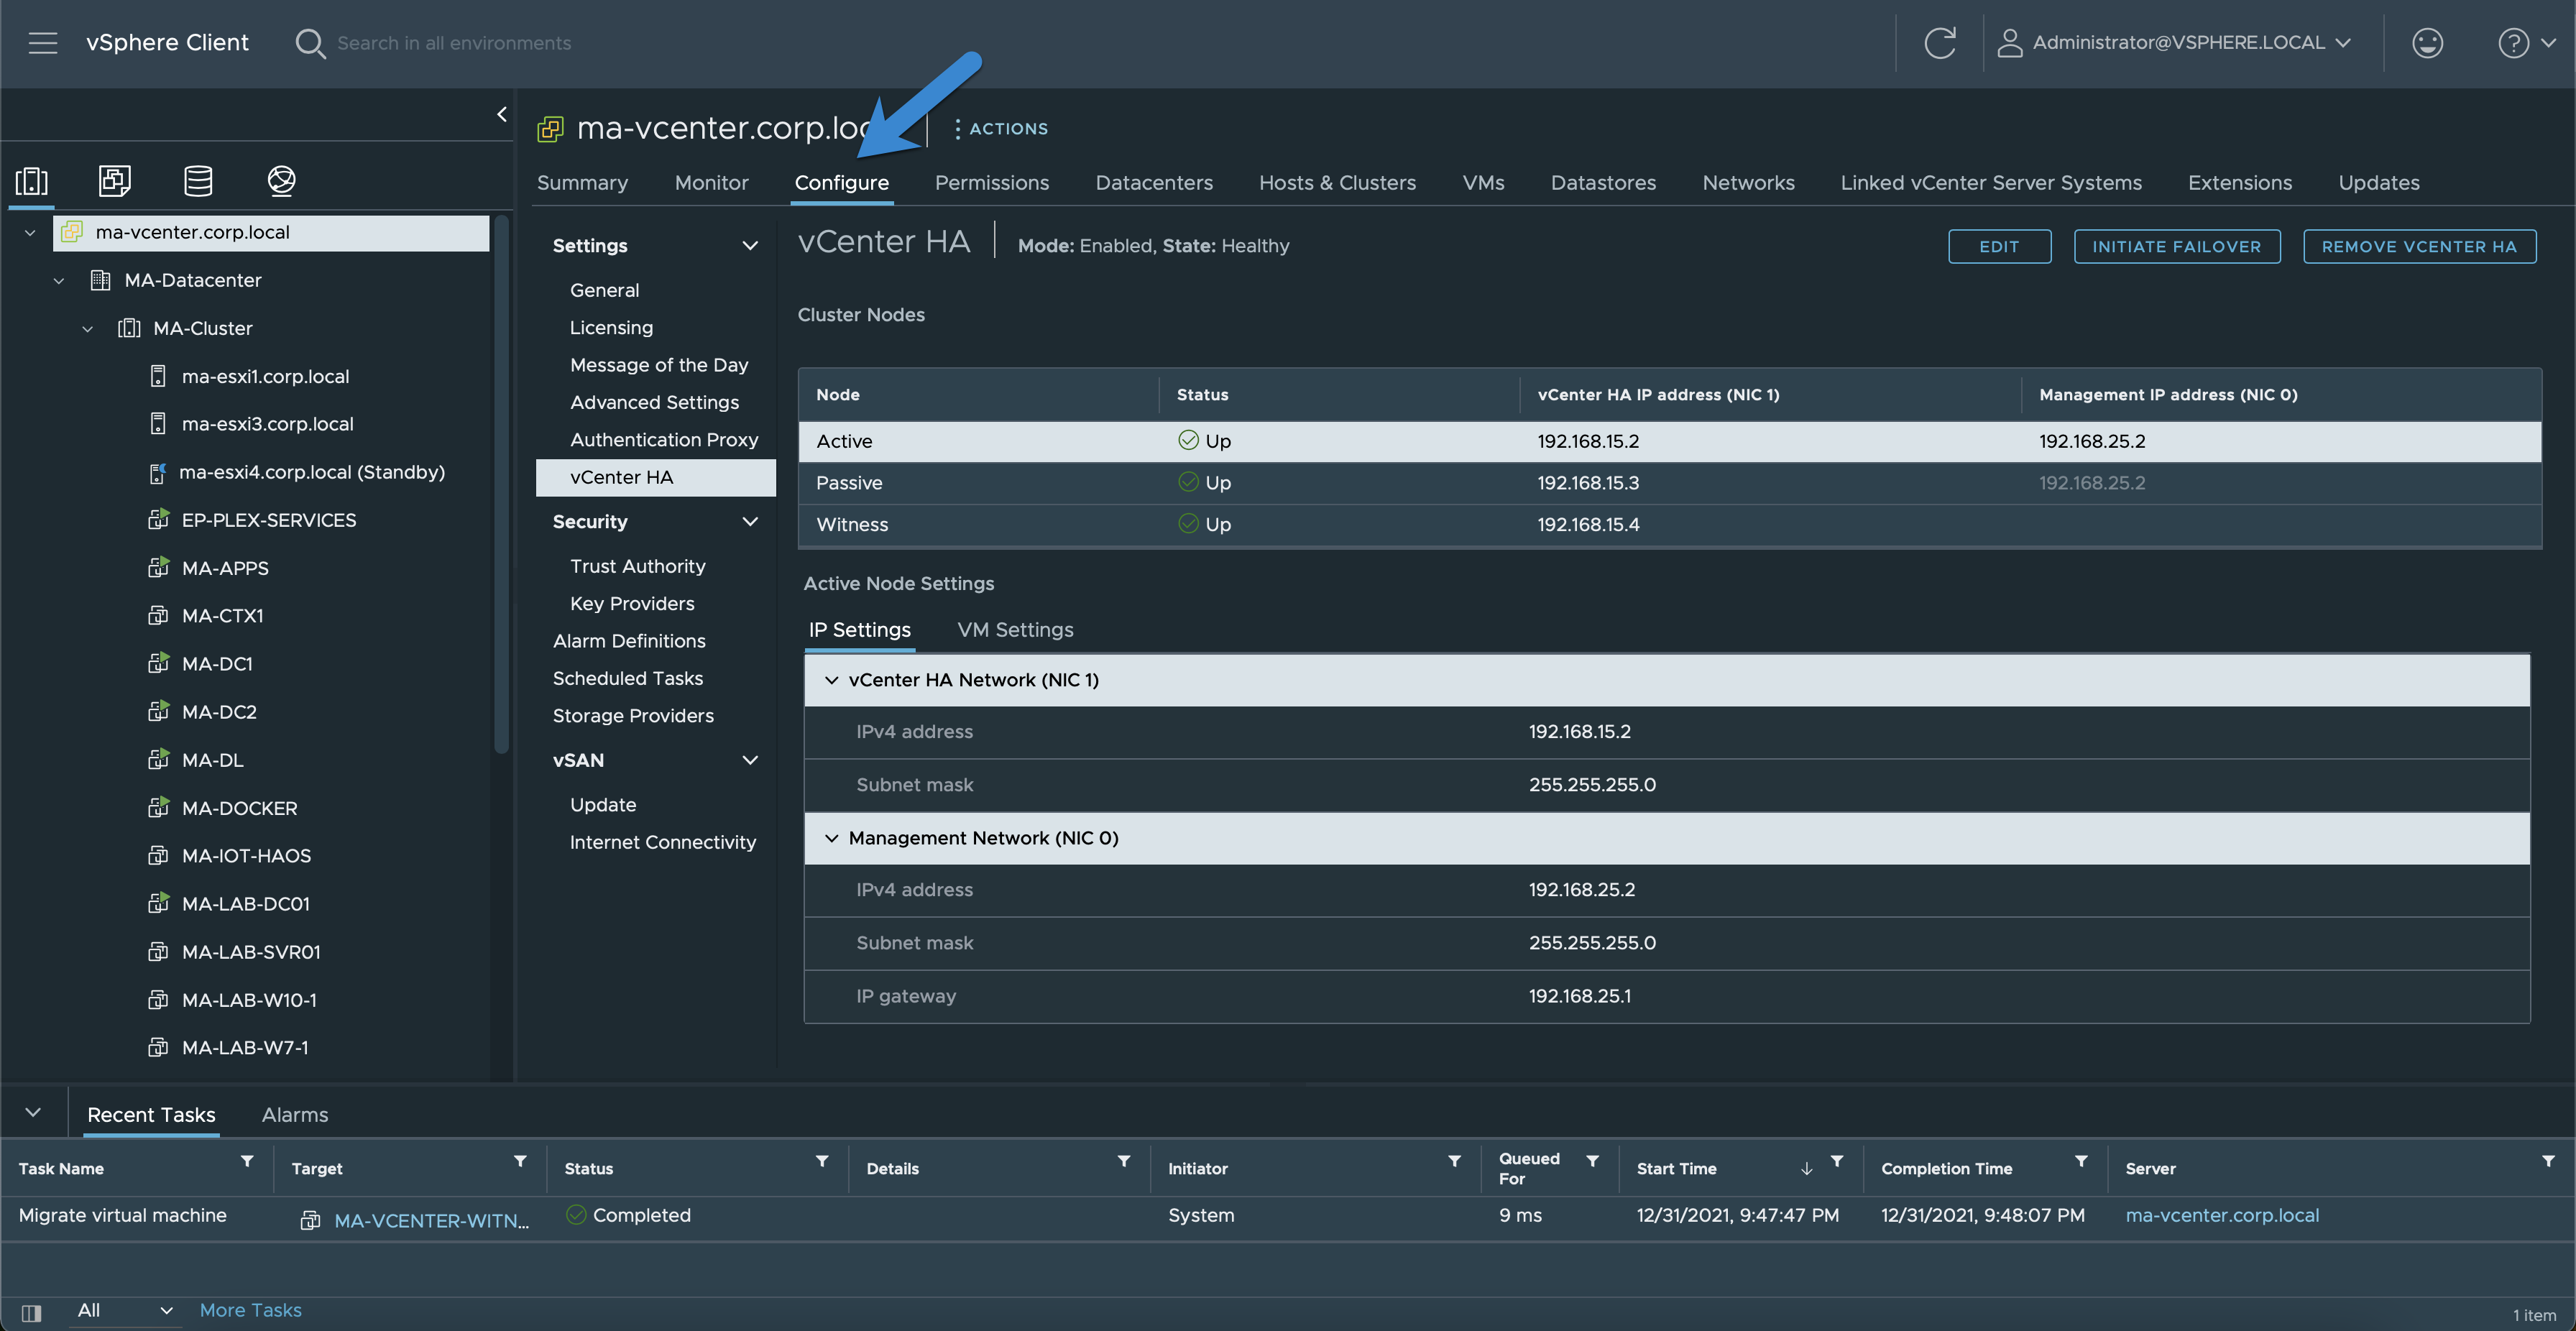
- Click on your top level vCenter menu item.
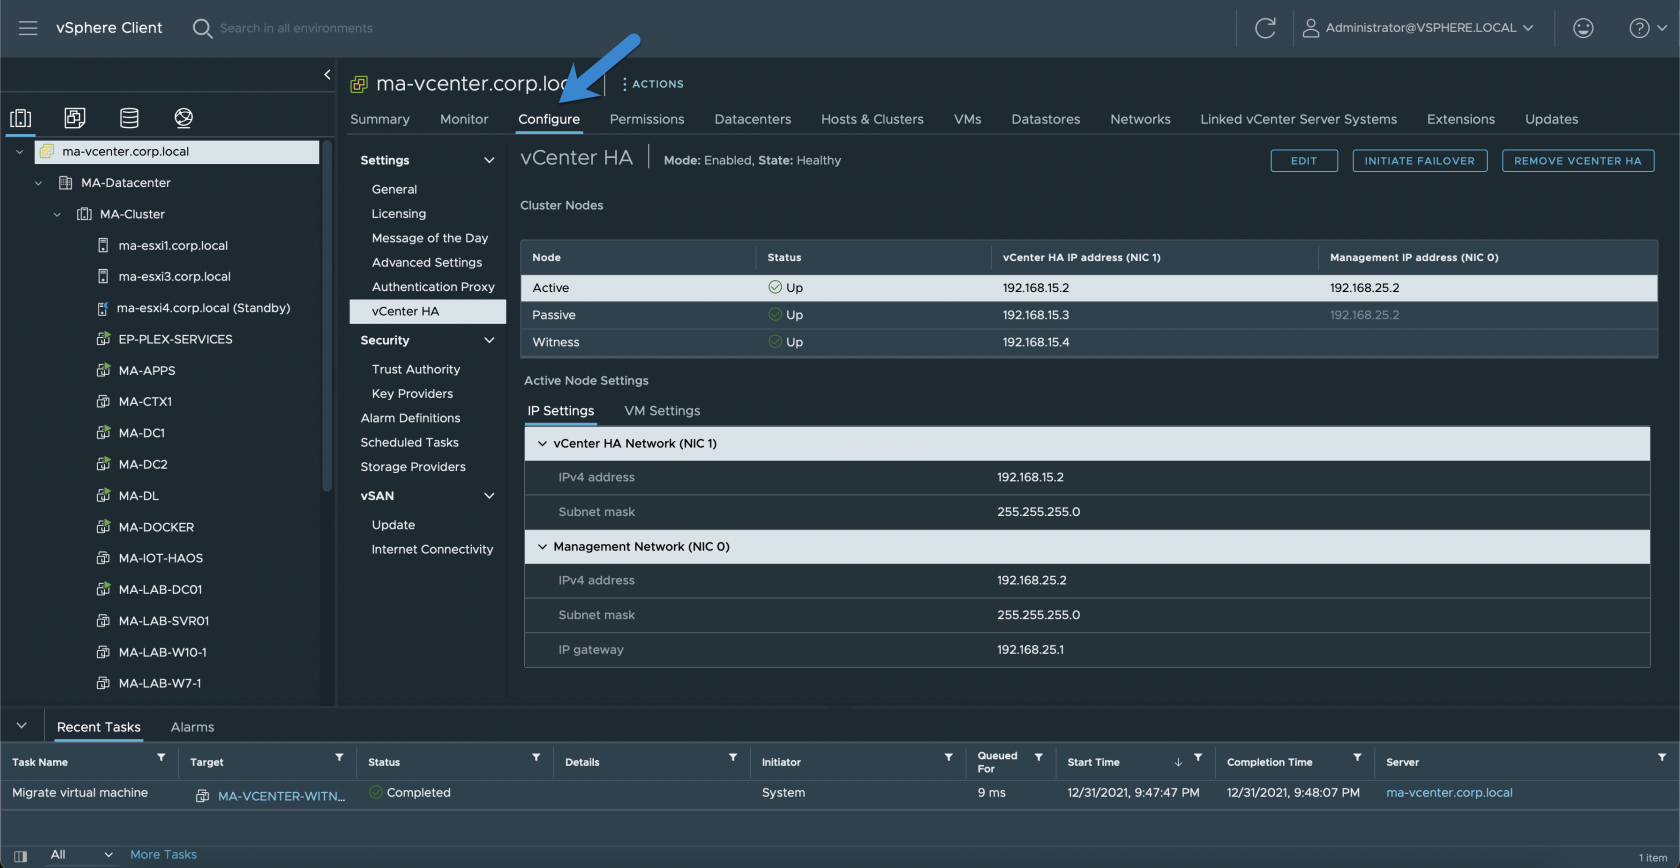
- Click on Configure.
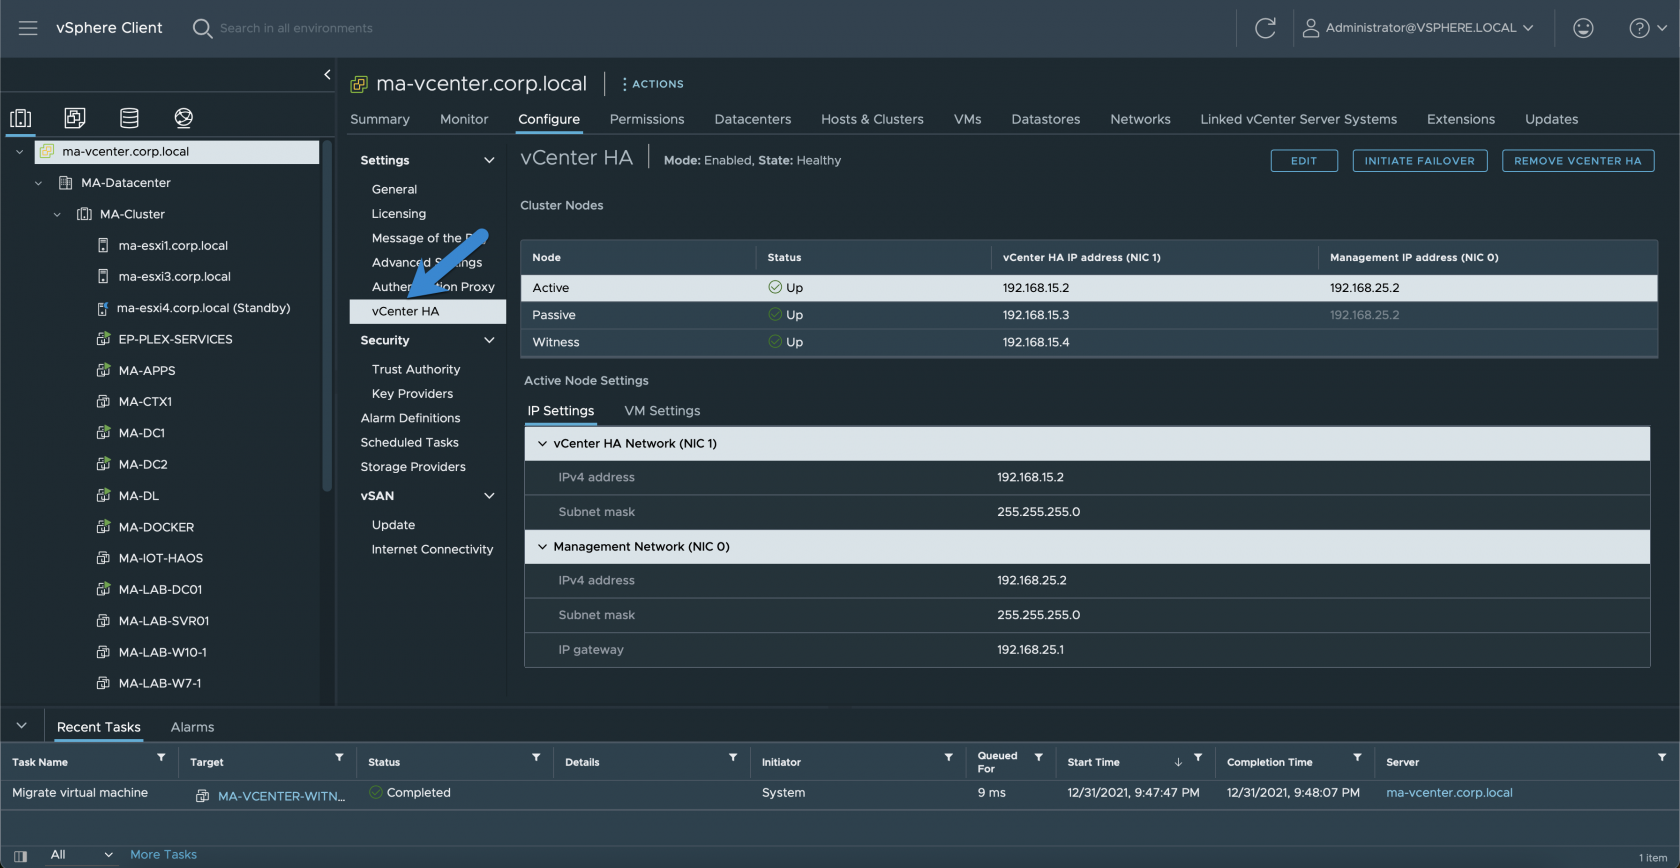
- Click on vCenter HA.
- Disable vCenter HA (Optional)
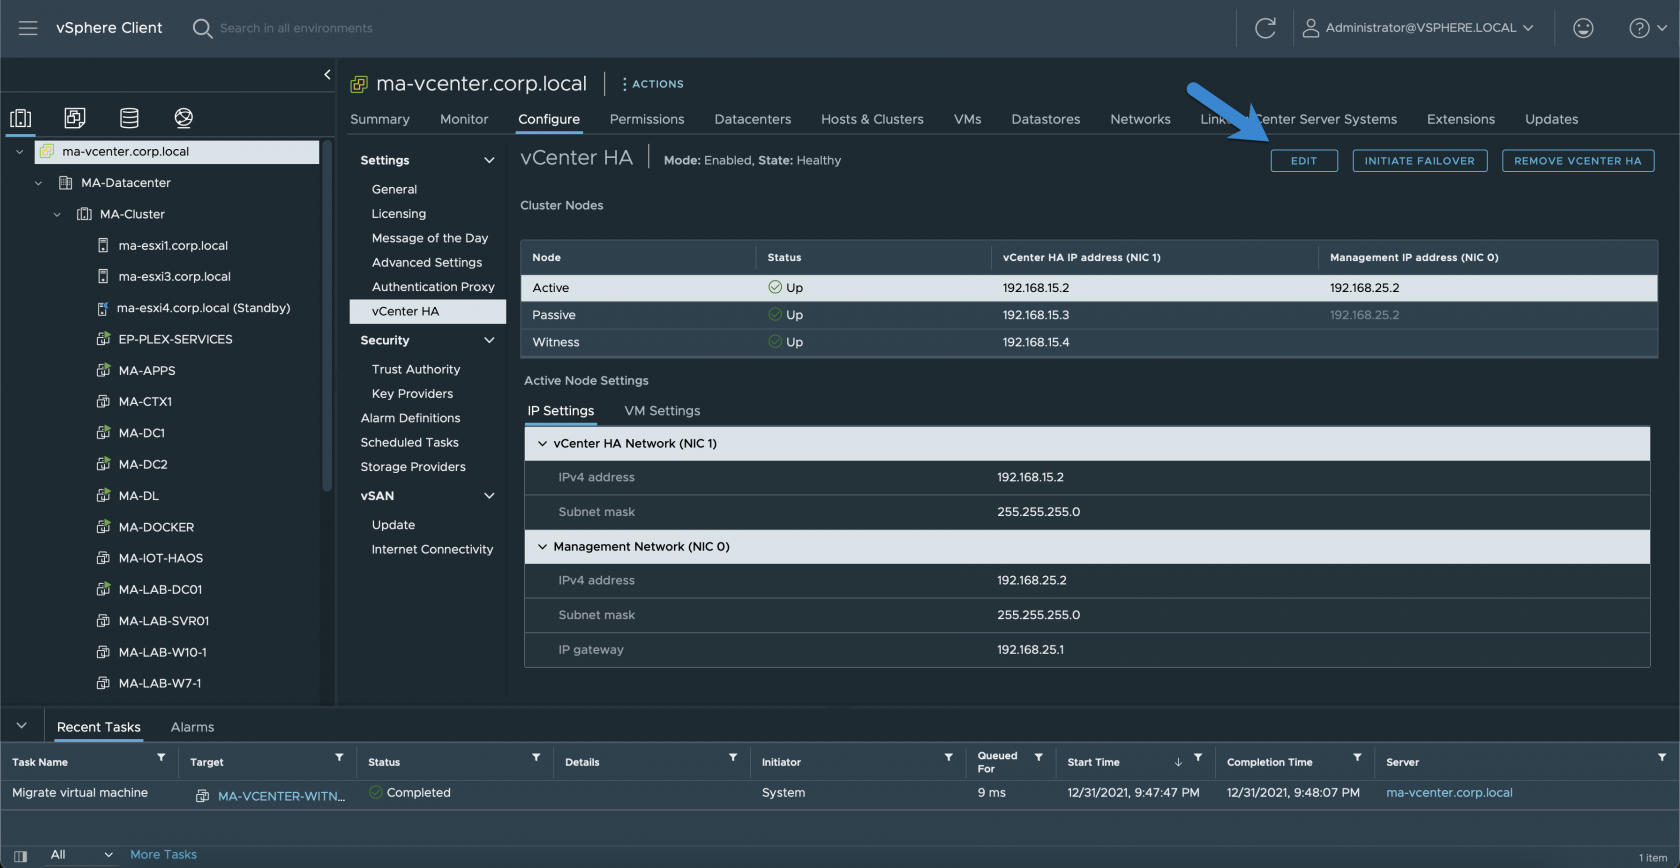
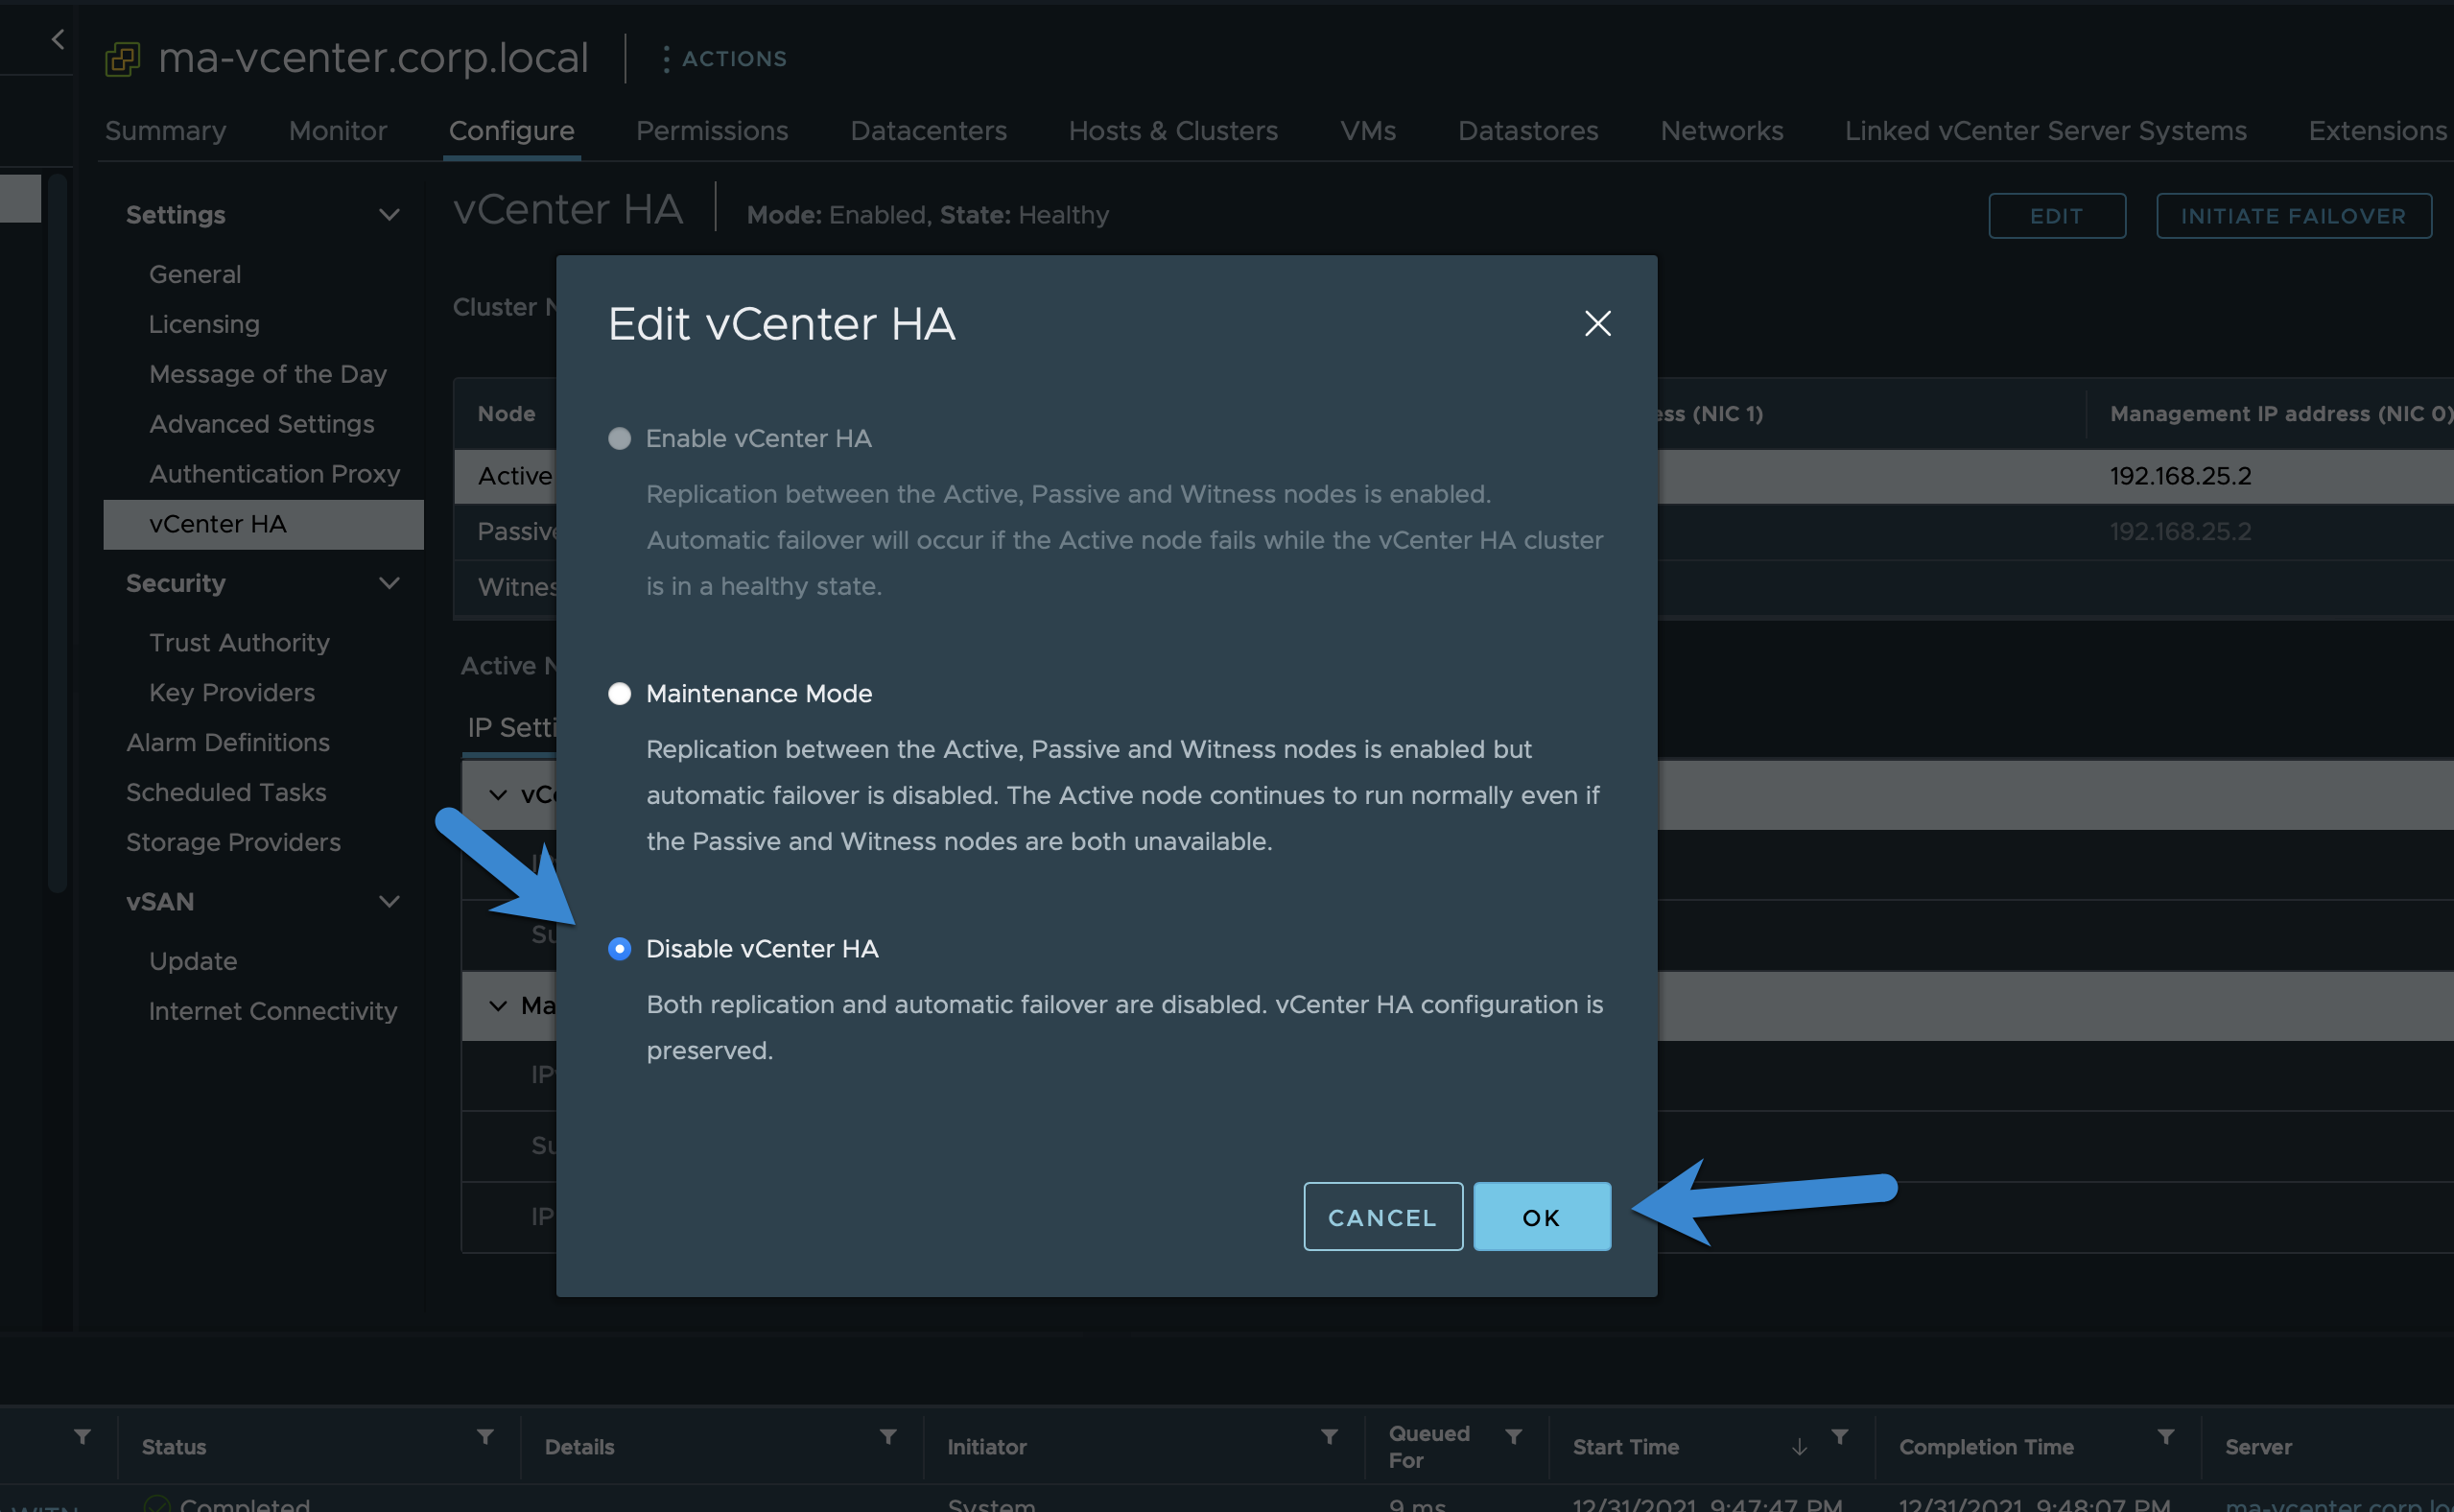
- Click Edit.
- Select Disable vCenter HA then click OK.

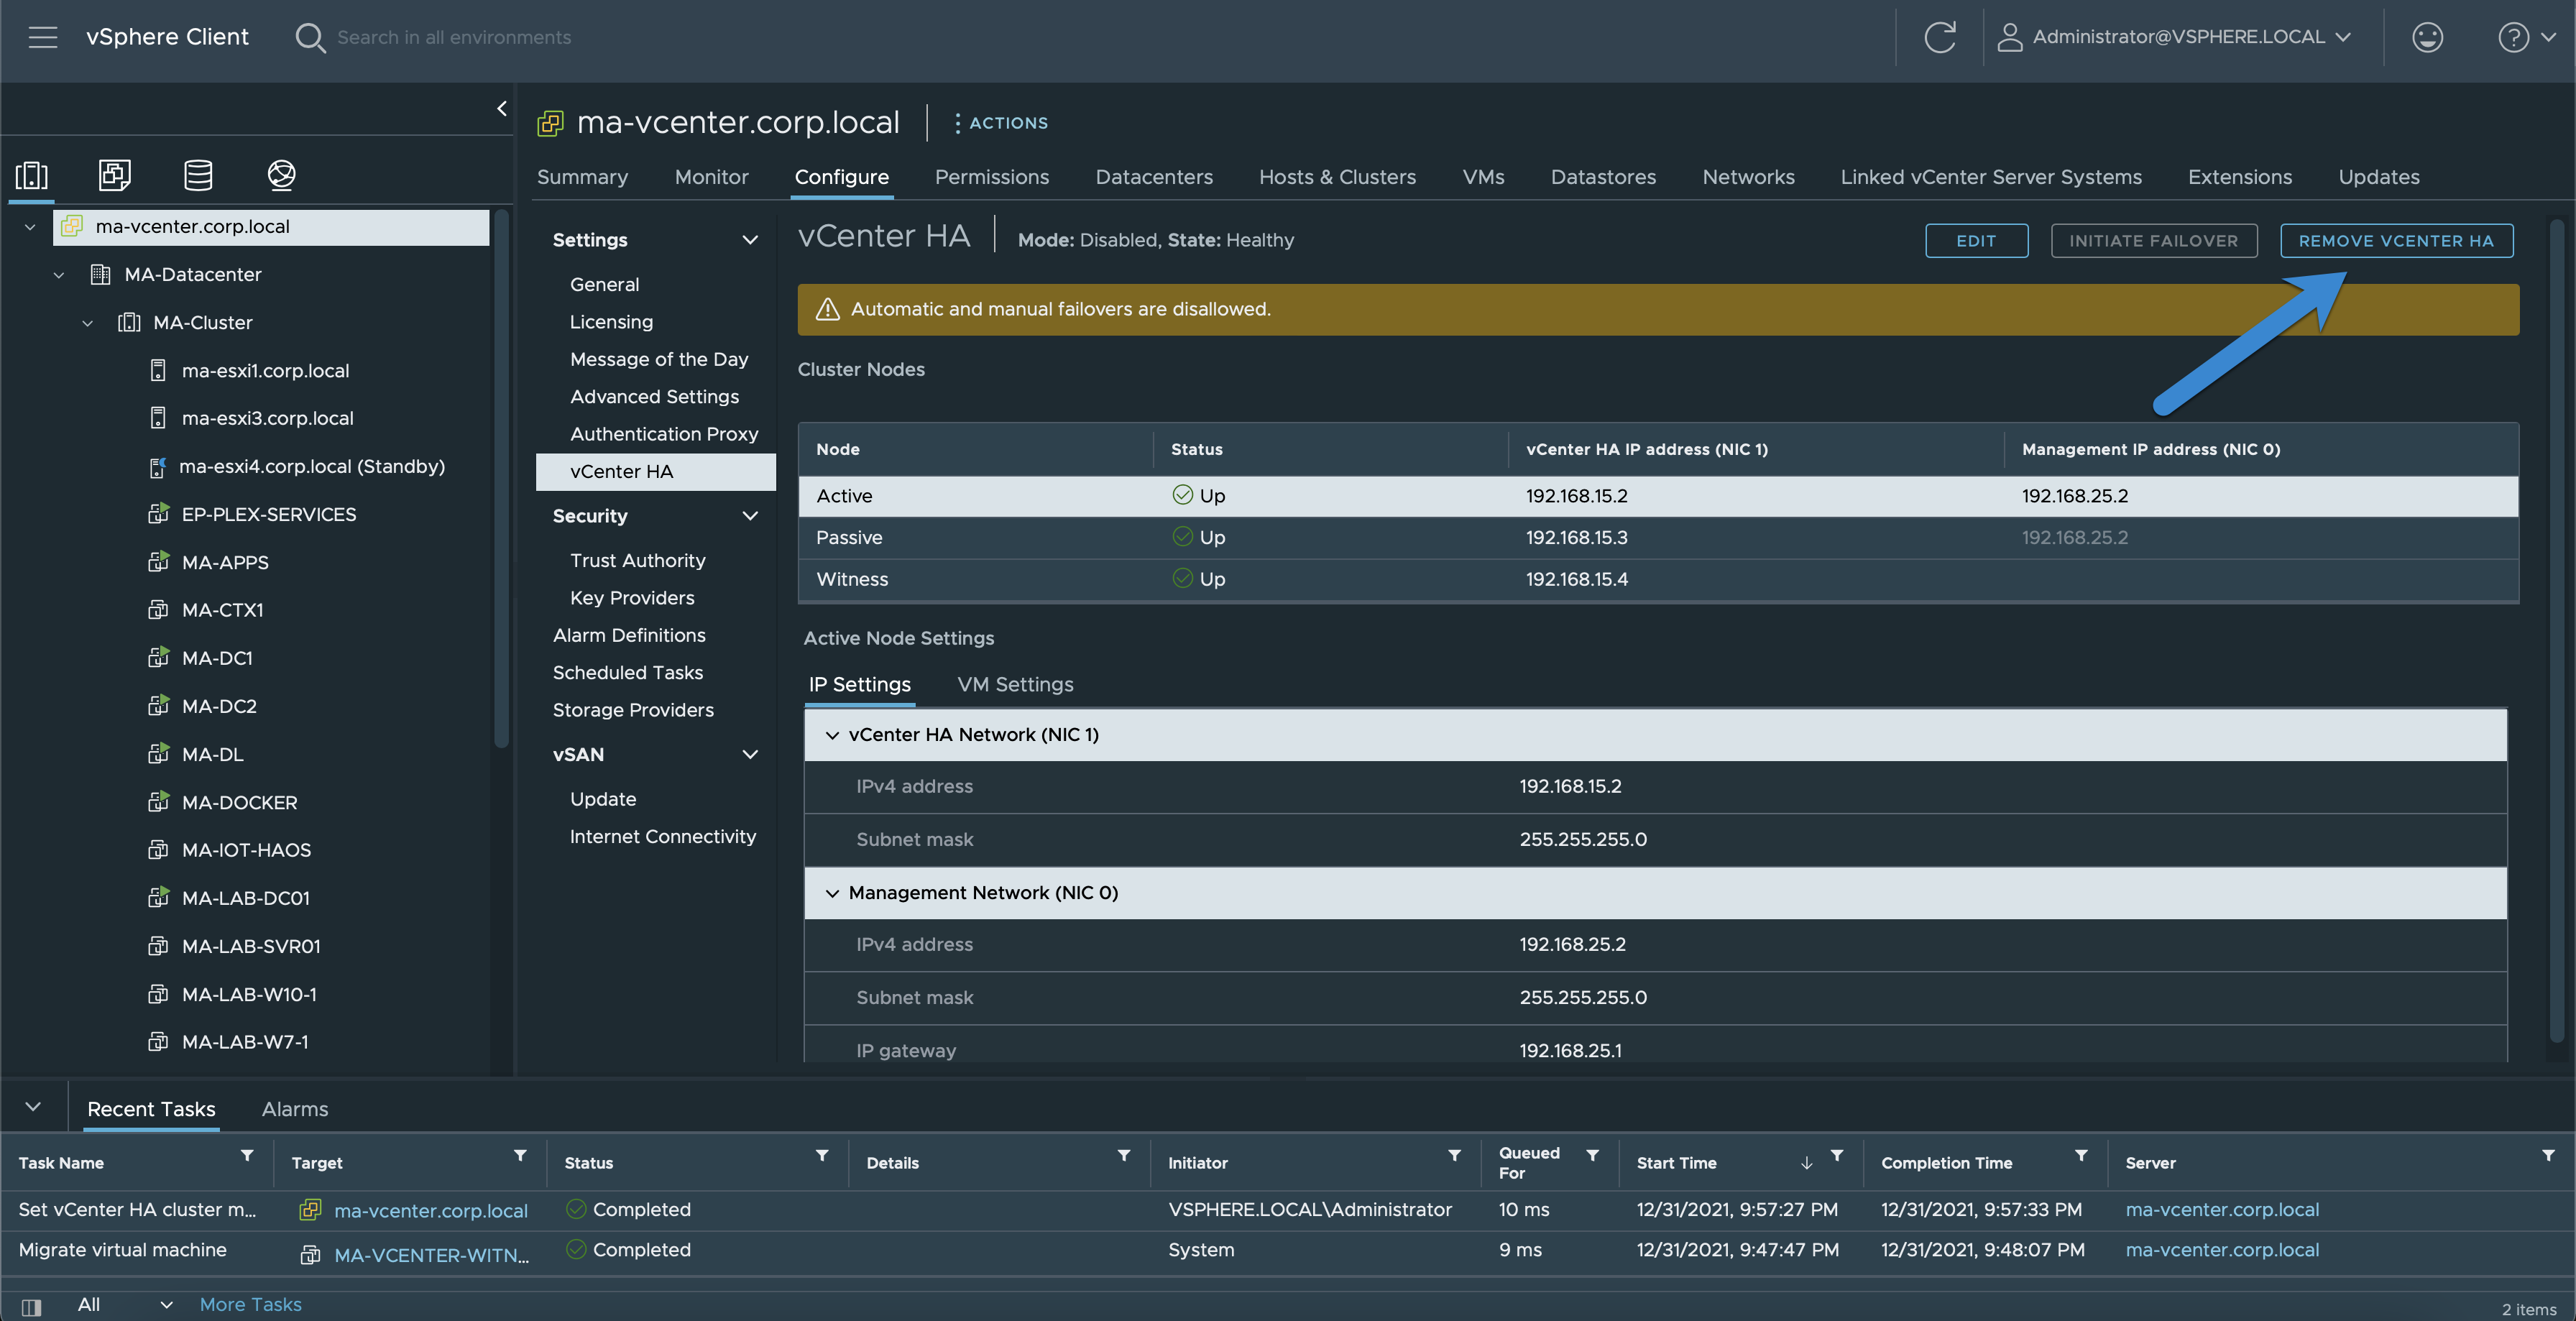
- Wait for vCenter HA to show as Disabled.
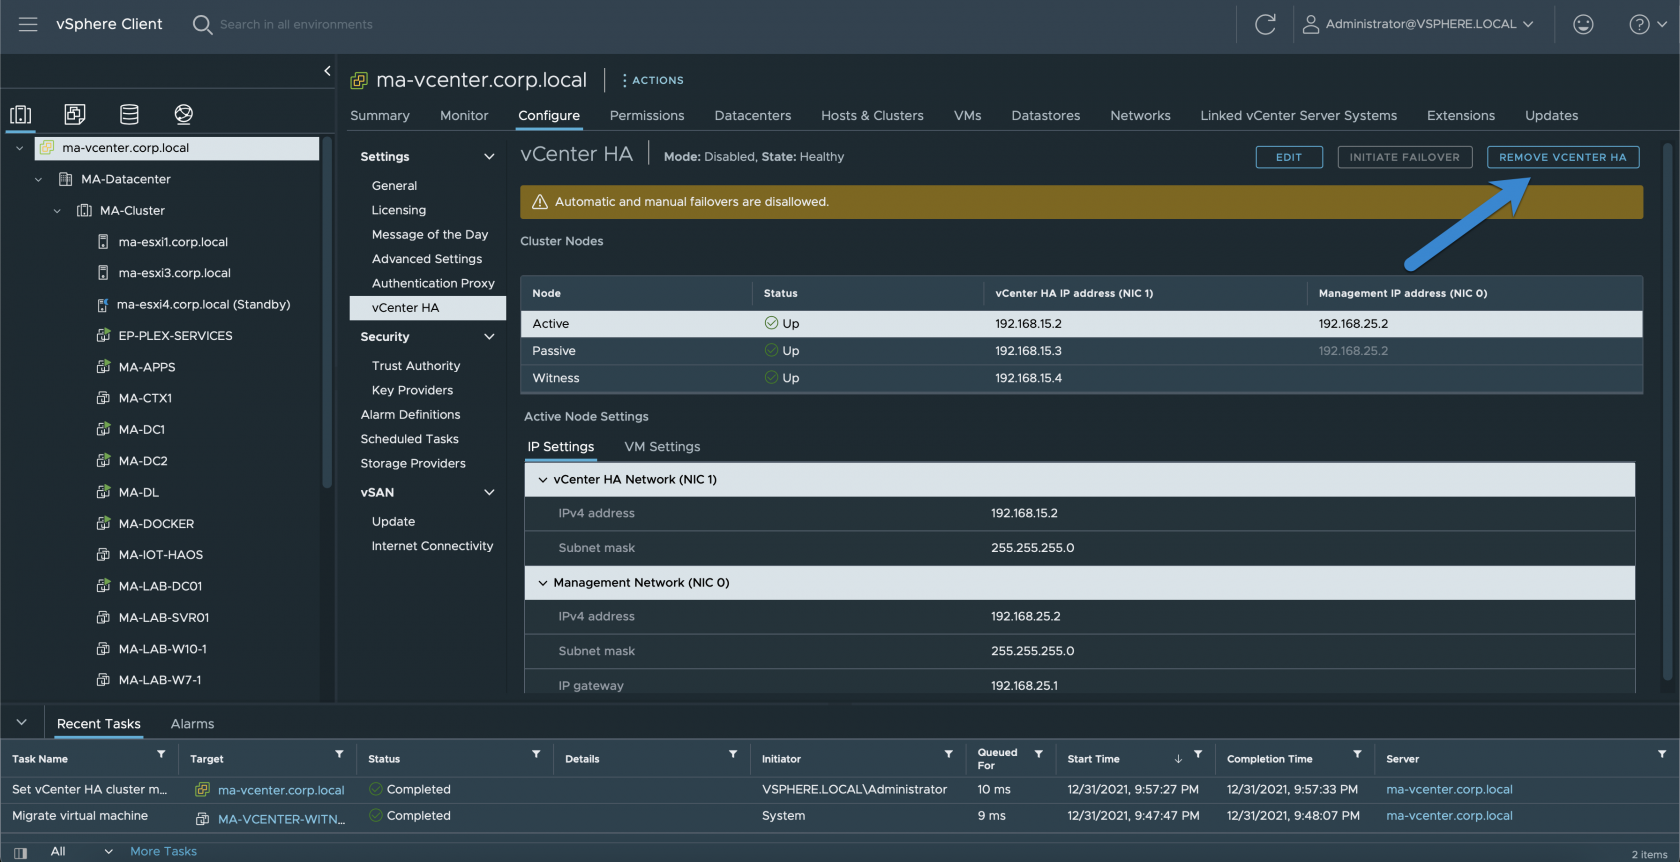
- Click Edit.
- Click Remove vCenter HA.
- Click Delete Passive and Witness node then press OK.
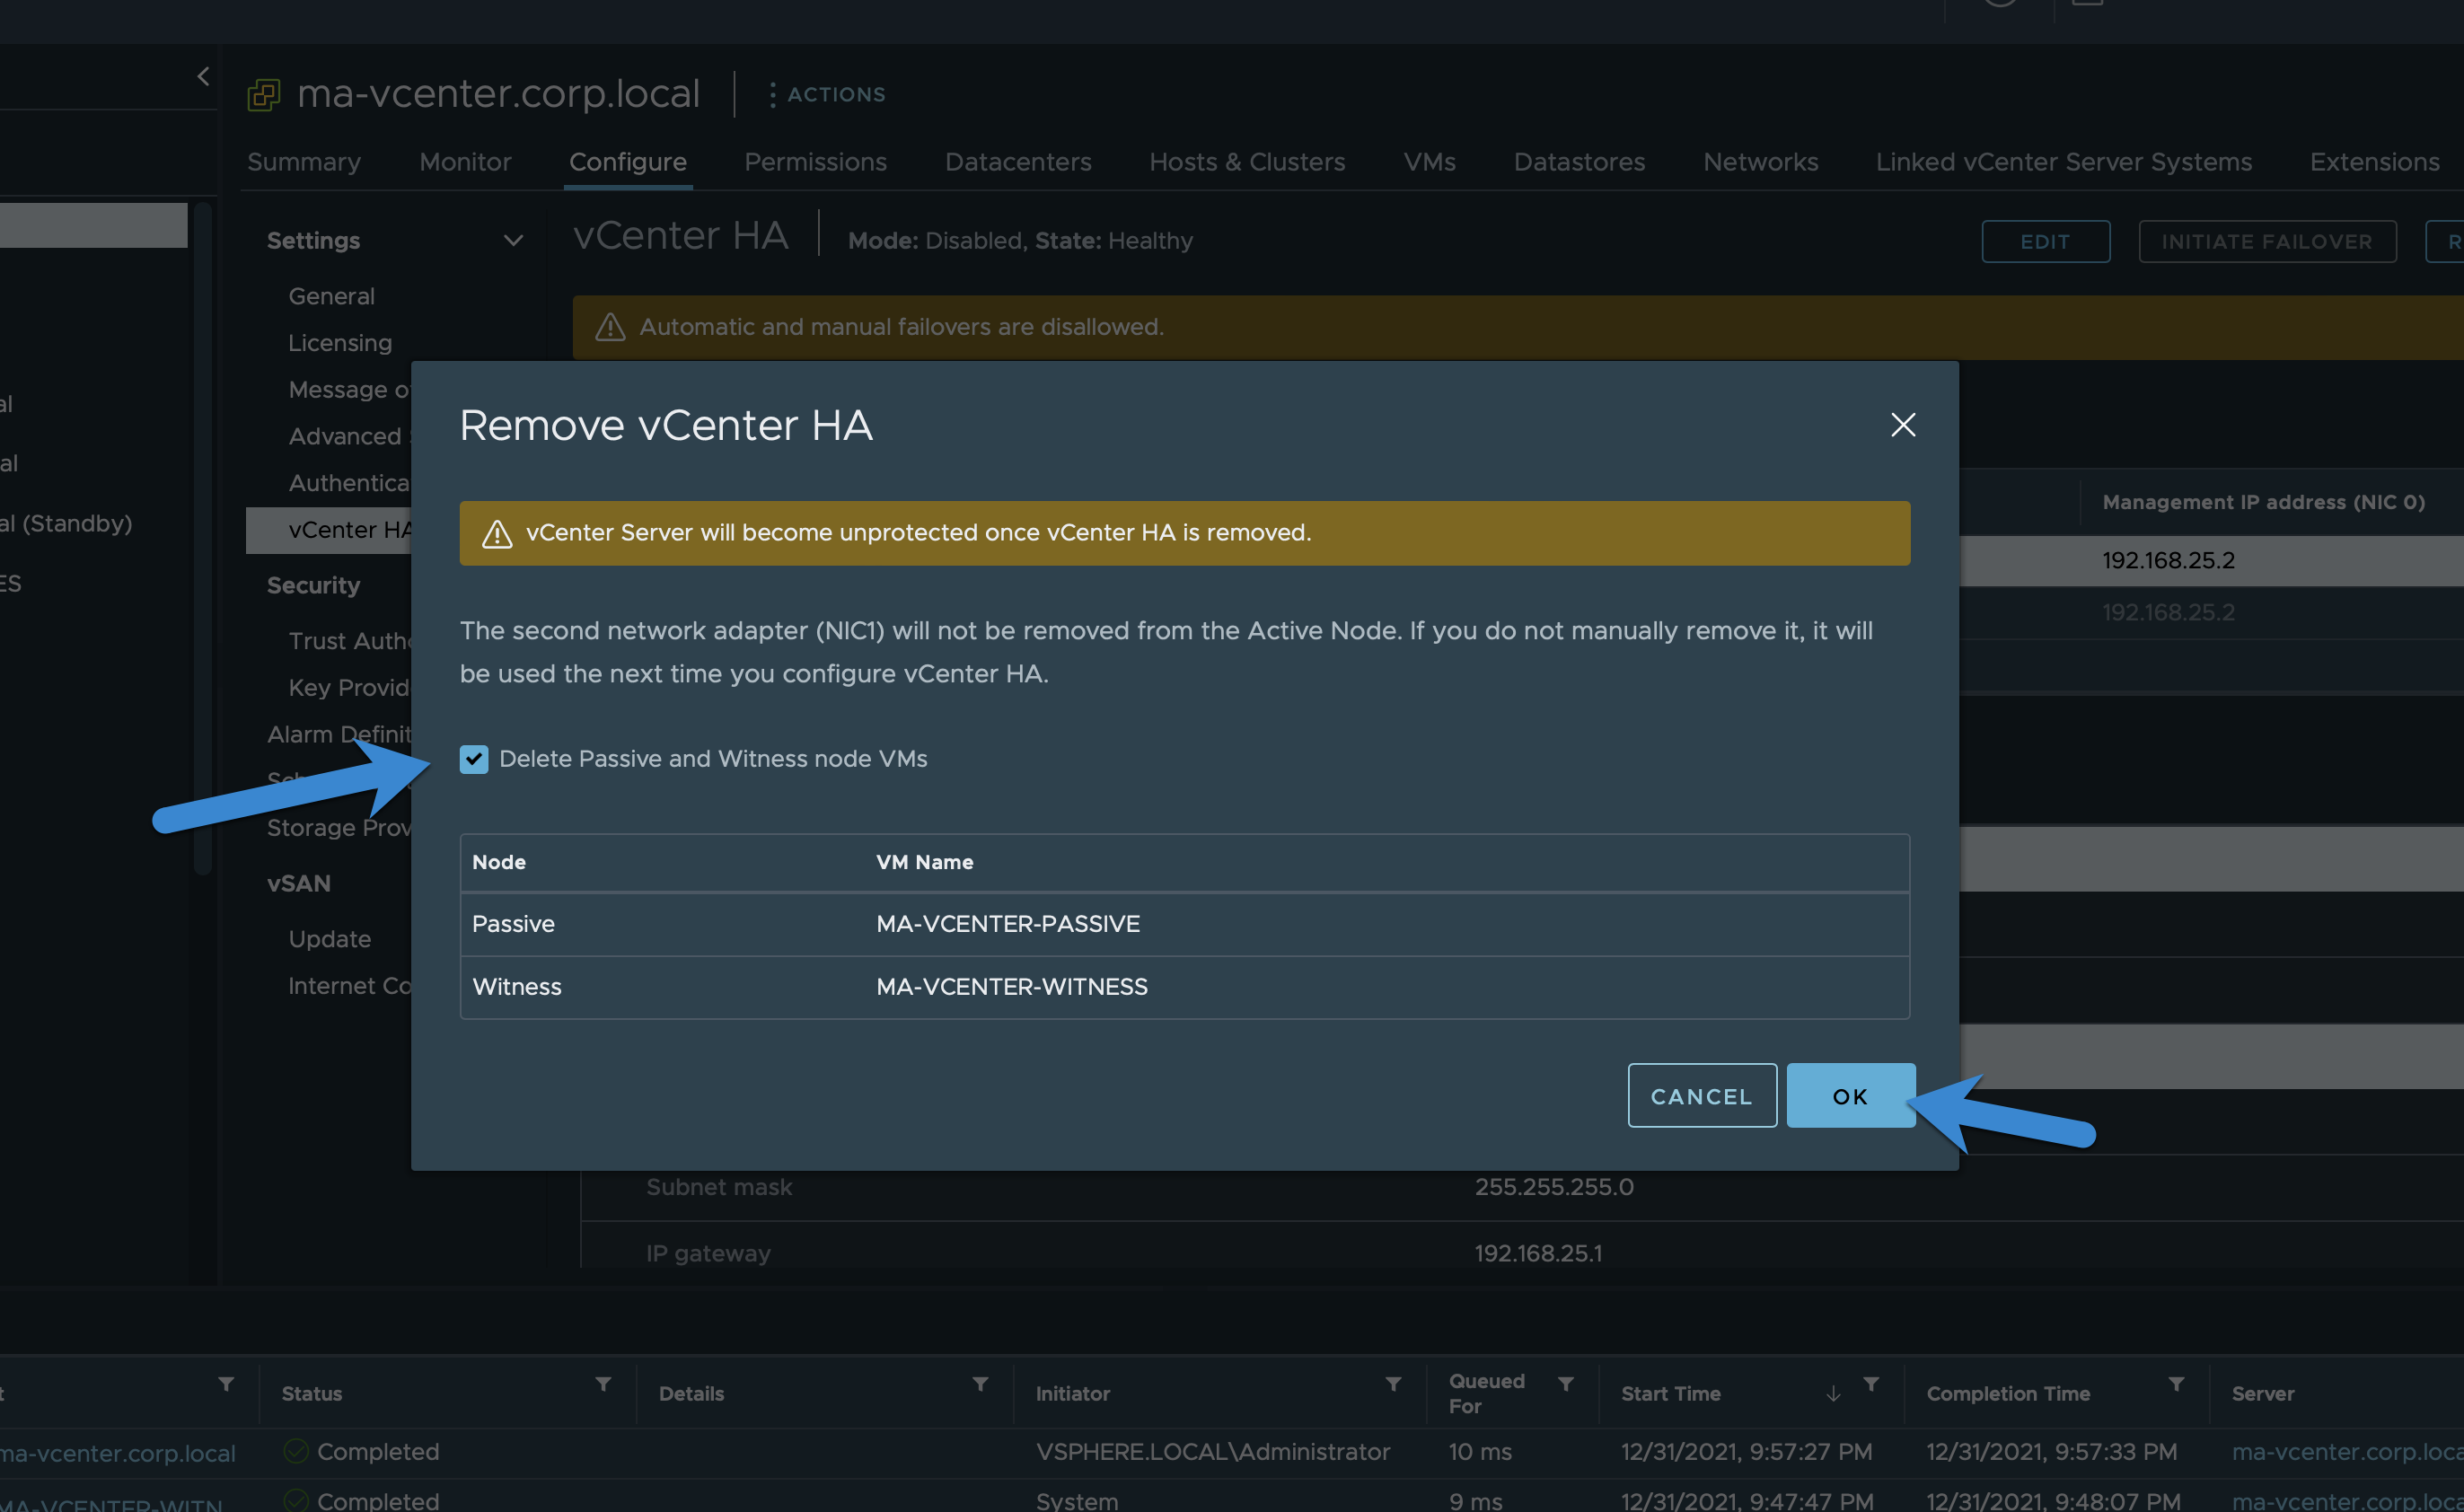


It's normal if it takes a few seconds to load after clicking the checkbox for deleting the nodes.
Method 2:
- Power down the Passive and Witness nodes and delete them.
- Access the shell console on the active vCenter node. This can be done via SSH or viewing the VM Console.
- Once you're in, type
shellto access the bash shell. - Run this command to remove the vCenter HA configuration
vcha-destroy -f. - Reboot the active node, when it comes back up it should be a standalone vCenter instance.